Graphics Programs Reference
In-Depth Information
2.
Click the Insert tool on the Tool Sets palette, choose Insert
Block from the menu bar, or
enter
I
↵ to open the Insert Block dialog box.
3.
Click the Browse button, and locate and select the bathroom drawing (Bath.dwg) by
using the Select Drawing File dialog box. Then click Open. If you haven't saved a bath-
room drawing from earlier exercises, you can use 05c-bath.dwg.
4.
If you're using the 05c-bath.dwg file, do the following: After selecting 05c-bath.dwg in
step 3, change the name that appears in the Name text box to Bath instead of 05c-bath
before you click Insert in step 5. This gives the inserted file a block name of Bath, even
though its originating filename is 05c-bath.
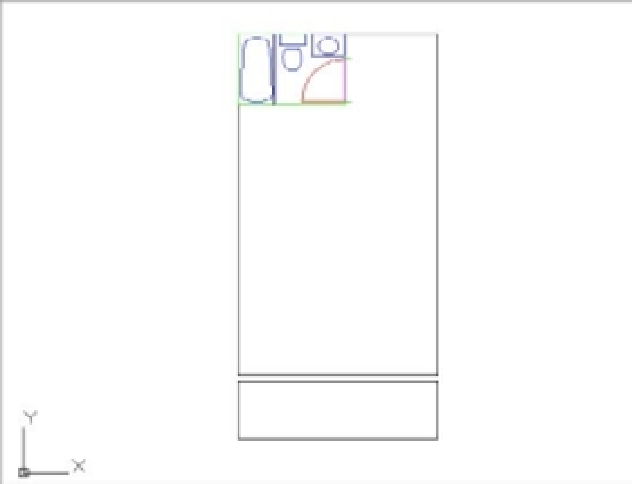
5.
Click Insert in the Insert Block dialog box, and then click the upper-left corner of the
unit's interior as the insertion point (see Figure 6.13). You can use the Endpoint osnap to
place the bathroom accurately. Use a scale factor of 1.0 and a rotation angle of 0°.
FIGURE 6.13
The unit after
the bathroom is
inserted
6.
If Running Osnaps haven't been set up, you need to use the Osnap shortcut menu (right-
click and choose Snap Overrides) to access the Endpoint osnap. You can set up Running
Osnaps to take advantage of AutoCAD's AutoSnap functions by right-clicking the Object
Snap button in the status bar. Set the Running Osnaps as described in Chapter 3.
7.
Assign the two rectangles that you drew earlier to the Wall layer. To do this, select the lines
that make up the rectangles so they're highlighted, and then in the Properties Inspector pal-
ette, choose the Layers pop-up menu and select Wall. Press the Esc key to clear the selection.