Graphics Programs Reference
In-Depth Information
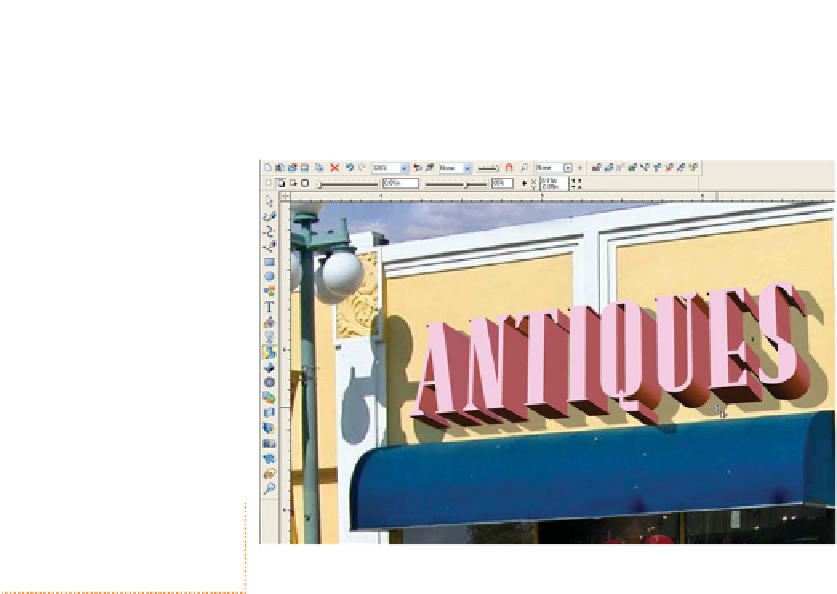
Create a Sharp Outdoor Shadow
All of the shadows in the photo are crisp, unlike the drop
shadow the Shadow Tool produces by default. However, you
can easily change this. You'll have the 3D sign casting a proper
shadow on the building in no time, by following these steps:
1.
With the 3D lettering selected, choose the Shadow Tool
from the Toolbar, and then drag down and to the right on
the face of the lettering to set the direction (the same as
the real shadows in the photo).
On the Infobar, drag the Shadow Transparency slider left
2.
and right until the tone of the shadow looks the same as
the actual shadows in the photograph. Anywhere from
35 to 65% looks about right.
Drag the Shadow Blur almost to zero; a tenth of an
3.
inch is good—not perfectly sharp because nothing is
perfectly sharp in a photo, but
about
as crisp as the real
shadows. See Figure 13-9.
You could change the color of the shadow ever so slightly in this example to suggest that
ambient lighting from the sky is coloring the shading. You click the shadow (not the extruded
text), use the Color Picker on the Color Editor to sample a shadow color from the photo, and
then change the shadow color to a slightly darker, desaturated blue.
F
IGURE
13-9
Make a quick and
photorealistic shadow with the
Shadow Tool and its options on the
Infobar.