Graphics Programs Reference
In-Depth Information
add another gradient point on the line to add
an additional color—double-click to insert a
position for an intermediate color.
Decide on a color on the color line. Click
8.
the color swatch while the new intermediate
point is highlighted.
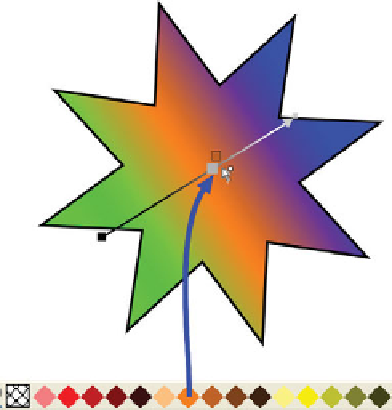
You can now reposition the new color across
the gradient to emphasis or decrease its relation
to the start or end colors. Use the Fill Tool or the
Selector Tool (with the Show Fill Edit Handles
button toggled on from the Infobar)—to hover
over the color handle on the direction line. When
you cursor turns into a cross hair with a tiny
four-headed arrow (move) icon, you can drag to
reposition the color handle.
Work with Transparency
Transparency works in flat and several gradient and fractal
styles; you choose the style from the Infobar when one or more
objects are selected and the tool is chosen. The Transparency
Tool can operate very much like the Fill Tool—interactively,
you drag on an object to set start and end opacity. You also have
a number of blending modes (Transparency-type drop-down
list) for transparency; the default is called Mix, but the Infobar
includes other modes such as Stained Glass and Bleach.
The following example uses a vector art background and
a bitmap PNG image; bitmaps can be assigned transparency
exactly like vector shapes.
Open Haunted studio apartment.xar now, and let's see how
to make the ghost bitmap image visually integrate with its
bachelor's pad using transparency:
1.
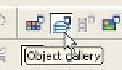
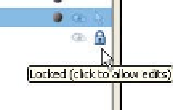
The document is all set up for you to import the
Standard ghost.png bitmap. Look at the Object gallery
now—click the button; see that the top layer is chosen
to host the ghost and that the vector background is
visible but locked. You can press
CTRL
-
ALT
-
I
to import
(File | Import), and you can also minimize the Xara
window and simply drag bitmap files into the page in
the window.