Graphics Programs Reference
In-Depth Information
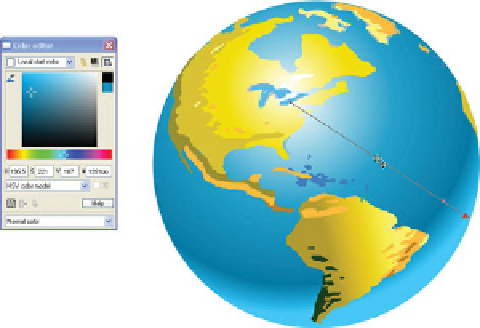
11.
Open the Color Editor, select the
newly added gradient control
points one at a time, and then
apply shades of blue. If the
second-to-last color is deeper than
the end color, you achieve a nice
secondary lighting effect, making
the globe look almost 3D.
To complete the logo for Mr. Globe
and his partners, follow these steps:
1.
Select all the globe objects and
group them (
CTRL
-
G
).
For comparison and reference, open the Bitmap Gallery
2.
panel, press
ESC
so nothing is selected on the page (so
you don't accidentally fill an object with a bitmap), and
then drag the GIF logo thumbnail into the page. You can
delete the cropped copy you still have on the page.
Create a rectangle for a background, and then press
3.
CTRL
-
B
to send it to the back of the page order of
objects. Put the grouped globe objects in position.
Try doing some things in Xara with this logo that the
original designer didn't consider. For example, give the
background rectangle a linear gradient fill from dark at
top to light at bottom for some drama.
Choose replacement fonts and add them to the
4.
composition. A very bold typeface for “GLOBE” will be
in keeping with the original typeface, and you can use
something such as Serpentine for the word “partners.”
Try adding a gradient to the word “Globe” to fancy it up.
See Chapter 8 for tips and tricks on creating effective logos, finding inexpensive typefaces,
and choosing the ones that work best in a logo.
5.
Add an ellipse (with the Bounds Creation button chosen
on the Infobar) below the globe, fill it with black, and
then drag the Feather slider on the Standard Bar to the
right until the globe casts a nice soft shadow. Click
the Transparency Tool and add a Flat transparency to
the elipse and adjust the Transparency settings until