HTML and CSS Reference
In-Depth Information
.
Output
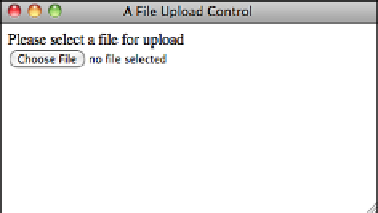
FIGURE 11.11
The file upload
control.
If you want to use a file upload field on your form, you have to do a lot of behind-the-
scenes work to get everything working. For one thing, the program specified in the
action
attribute of your form must accept the file being uploaded. Second, you have to
use the
post
method for the form. Third, you must set the
enctype
attribute of the
<form>
tag to
multipart/form-data
. Ordinarily, the default behavior is fine, but you
must change the
enctype
in this particular case.
Let's look at a simple form that supports file uploads:
<form action=“/upload” enctype=“multipart/form-data” method=“post”>
<input type=“file” name=“new_file” />
<input type=“submit” />
</form>
After you've created a form for uploading a file, you need a program that can process the
file submission. Creating such a program is beyond the scope of this topic, but all popu-
lar web programming environments support file uploads.
In addition to form controls you can create using the
input
element, there are three that
are elements in and of themselves.
Using the
button
Element
A button you create using the
button
element is similar to the buttons you create with
the
input
element, except that content included between the opening and closing button
tags appears on the button.
You can create three different types of buttons: Submit, Reset, and Custom. The
<button>
tag is used to create buttons. As with other form fields, you can use the
name
attribute to specify the name of the parameter sent to the server, and the
value
attribute