Graphics Programs Reference
In-Depth Information
of two motion-blur methods and works for objects that move in the scene without
deformation.
Deformations
are when the mesh or surface of an object changes, such
as when you use a lattice or a skeleton rig like IK to drive a character. For deforming
objects, you need to use Full as the Motion Blur setting.
7. Click to open the Quality tab in Render Settings.
In the Motion Blur heading, set the Motion Blur
By attribute from 1.0 to 3.0 for quite a bit of blur.
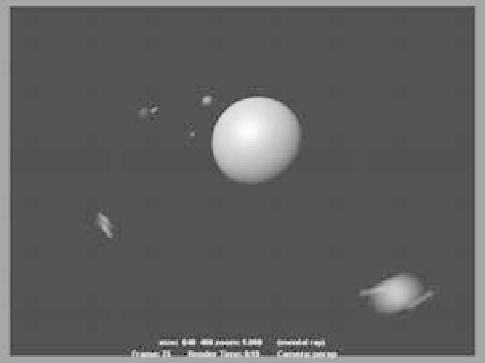
Render a frame at frame 75. (See Figure 11.40.)
8. The render shows quite a bit of blur; however, the
quality is low. You see a lot of graininess in your
render, especially with the yellow and red planets
at the bottom of the screen. In the Quality tab
of the Render Settings, leave Sampling Mode
at Adaptive Sampling, but change Max Sample
Level to 2 (which also changes Min Sample Level
automatically to 0 from -2).
9. Set the Anti-aliasing Contrast attribute to 0.03,
and change Filter to Gauss. Render frame 75 again
(see Figure 11.41). This render should be much cleaner, with a smooth motion blur for
the planets. Notice, however, that the render time increases by about 50 percent! You
control the amount of blur in your scene with the Motion Blur By attribute (step 7) for
your scene; but the higher the blur amount, the higher sampling you'll need to use, and
the higher the resulting render times.
Figure 11.39
Turn on motion blur.
Figure 11.40
Render a frame with motion blur turned on.
Figure 11.41
Motion blur looks much better with higher sampling levels.