Graphics Programs Reference
In-Depth Information
Figure 11.35
Better anti-aliasing improves the wagon's appearance.
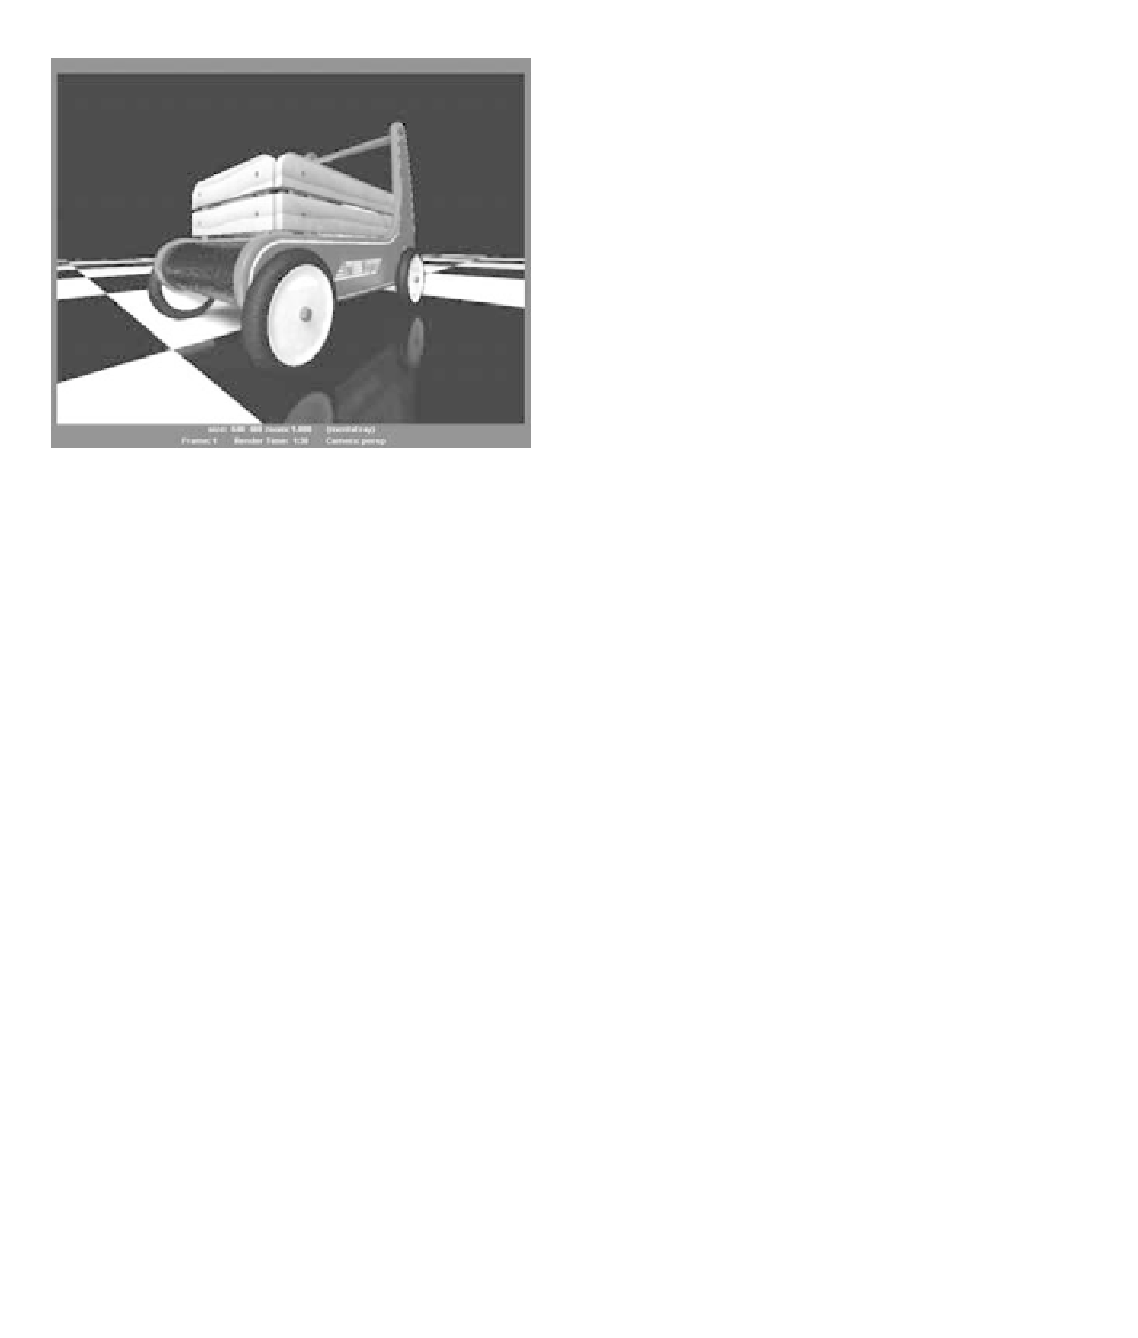
Figure 11.34
A toy wagon rendered with low anti-aliasing values. notice the
jagged highlights on the white decal lines and the back wheel.
If you enter Custom Sampling mode and increase Max Sample Level to 2 and Min
Sample Level to 0, you see an immediate increase in quality (especially in the reflections
of the wagon and the white decal lines) and a noticeable increase in render time (about
twice as long), as shown in Figure 11.35.
You can get an even cleaner render. But rather than
crank up the sample levels to the heavens, it's much
better to lower the contrast thresholds to force mental
ray to sample difficult areas closer to or at the max
value of 2. Figure 11.36 shows the same frame with the
Anti-aliasing Contrast value set to 0.04 instead of the
default of 0.1. Also, the Min Sample Level is set to 1,
but the Max Sample Level is left at 2. The render times
increase, but at a more acceptable margin than if the
Max Sampling Level were increased beyond a value
of 2. The reflections of the wagon in the checker floor
are markedly nicer in this render. Your results as you
render the scene on your own computer will be more
noticeable than the images shown here.
Finding the right levels to set is important to a
quality render and an acceptable workflow. It's easy enough to crank the numbers to the
sky, but render times will very quickly become unacceptable, especially when you have
a supervisor or client breathing down your neck for the hundreds of frames you have to
render by the time you have waffles the next day.
Figure 11.36
The wagon has still
better anti-aliasing
because the Anti-
aliasing Contrast
Threshold was set
lower. you'll see it
better in your own
renders.