Graphics Programs Reference
In-Depth Information
to get the general feel first. The finesse of this exercise will come from rendering through
mental ray in the next chapter, using an HDR IBL, adding reflections to the box, adding
displacement maps for the intricate carvings, and adjusting the shaders to taste. In the
following exercise, you'll create a basic lighting setup for the decorative box and get a
direct lighting solution first.
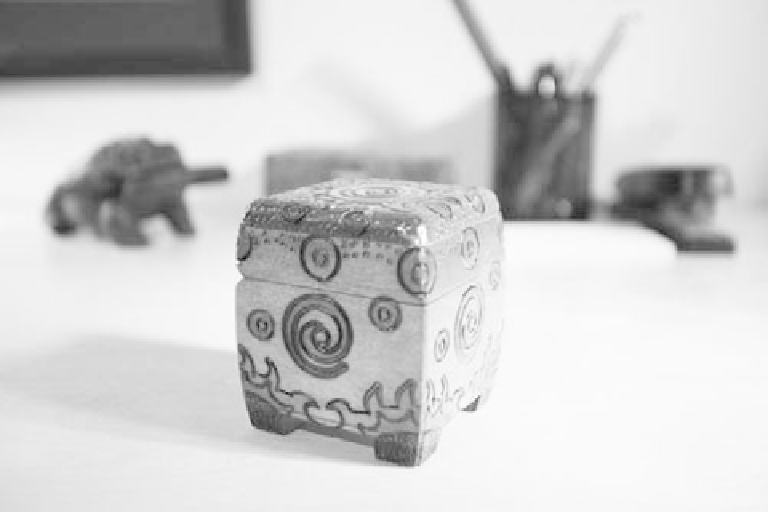
Figure 10.58
Lighting the decora-
tive box using this
practical lighting as
reference.
Set your current project to the Decorative_Box project, which you should have already
copied to your hard drive from the CD. To begin lighting, open the
boxLighting01.mb
scene file from the
Scenes
folder of the project. Then, follow these steps:
1. Create a new camera that you can use to render the scene. You'll keep using the persp
camera to navigate through the scene. In one of the other view panels, click Panels
➔
Perspective
➔
New. Persp1 is created. Then, choose View
➔
Camera Attribute Editor.
Maya shows you the persp1Shape tab.
In the Output Settings heading, make sure the Renderable box is checked. Click the
persp1 tab in the Attribute Editor, and rename the camera from persp1 to
renderCam
(persp1Shape is automatically renamed to renderCamShape).
Select the original persp camera, and, in the Attribute Editor, make sure the Renderable
box is unchecked. This ensures that only the correct camera (renderCam) will
render.