Graphics Programs Reference
In-Depth Information
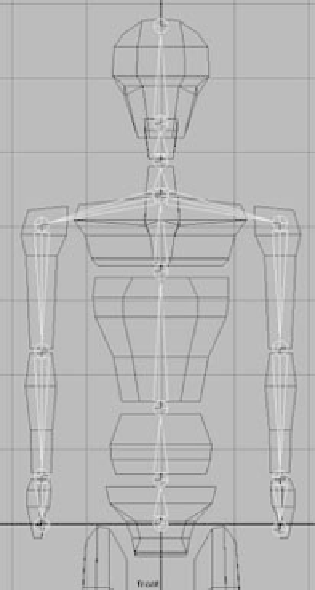
7. Stay in the front view. Now, from this joint between the neck and
chest, click to place a joint at the top of the right bicep at the shoul-
der. Click down to create joints at the elbow, the wrist, and the tip
of the model's right hand.
8. Press the Up arrow to
pick walk up
the chain to the neck/chest joint,
and repeat step 7 to create the joints for the left arm as shown in
Figure 9.8.
Pick walking
is when you select one object or component in Maya and
then use the Up or Down arrow key to pick the next object higher (or
lower) in the hierarchy. You can use the Left or Right arrow key to pick-
walk select any siblings of the currently selected object in its hierarchy.
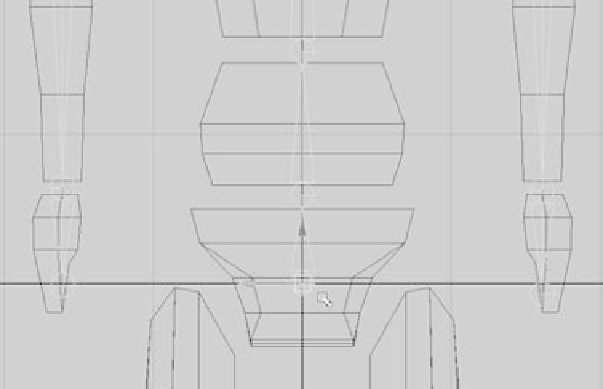
9. To start another string of joints in the first leg, pick walk back up
the skeleton until you're at the pelvis root joint. (See Figure 9.9.)
10. From the root joint at the pelvis, click to create a joint at the tip of
the right thigh, and work down to the knee and ankle. Place the
ankle joint halfway down the foot, as shown in Figure 9.10, as opposed
to the gap between the shin and the foot. Press the spacebar to return
to the four-way view from the front view, and maximize the side
view. Click to create a joint at the tip of the foot. This allows you to
place a joint in the proper axis in the side view. (See Figure 9.11.)
11. Return to the front view, and press the Up arrow to get back to the pelvis joint.
Repeat step 10 to create joints for the left leg. After you place your joints, press Enter.
Figure 9.12 shows the skeleton.
Figure 9.8
Place joints for
the torso.
Figure 9.9
Start the leg series
of joints from the
root pelvis joint.