Graphics Programs Reference
In-Depth Information
enough image-editing experience, have no fear: the images have been created for you, so
you can get the experience of mapping them and learn about the underlying workflow
that this sort of texturing requires. Follow these steps:
1. Back in Maya, open the Hypershade window,
and create a new Phong shader. Open the Attri-
bute Editor, click the Map button (
) next to
the Color attribute, and select File.
2. Double-click the file1 node to open the Attribute
Editor. Click the folder icon next to the Image
Name attribute, navigate to the
Sourceimages
folder for the project, and select the
boxColorMap
.jpg
file (not the TIF file). The icon in the Hyper-
shade doesn't show the image because it's a large
file. (See Figure 7.142.)
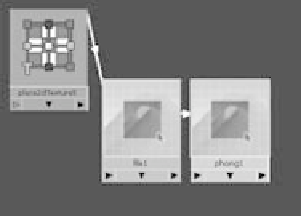
Figure 7.142
The color map's file node
3. Right
-
click the file1 node, and choose Refresh
Swatch. The boxColorMap image is displayed
as the file1 icon. (See Figure 7.143.)
4. Select the box, and assign the Phong shader it.
Rename the Phong to
boxShader
. In the persp
panel, press 6 for texture view. The color map
is fairly well aligned on the model. Not bad!
(See Figure 7.144.)
Figure 7.143
The icon is refreshed.
Figure 7.144
The color map fits
pretty well already.
But there are a
few lineup issues
at the edges.
Lineup issues