Graphics Programs Reference
In-Depth Information
2. In Photoshop, create a new layer on top of the background layer that is the UV layout
(white on black, as shown). Using the Bucket tool, fill that new layer with the same
red you used on the shader in your scene. To do so, click the foreground color swatch
in Photoshop, and set H to 355, S to 91 percent, and B to 65 percent, as shown in
Figure 7.79. Click OK.
3. Using the Bucket tool, click to fill the entire image with the red you just created. The
trouble is that now you can't see the UV layout. Set the Opacity of the red layer in
Photoshop to 50 percent, as shown Figure 7.80.
4. Set Photoshop's foreground color to white. Using the Line and Brush tools set to a width
of about 6 pixels, draw a stripe following the UV layout lines, as shown in Figure 7.81.
Doing so places that white stripe along the A panel's outer edge, because the UV lines
you're following correspond to that area of the mesh. The rest will be left red.
Figure 7.79
In Photoshop's
Color Picker, create
the same red you
used for the wagon.
Figure 7.80
Set the opacity for the
red layer in Photoshop
so you can see the UV lay-
out on the layer below.
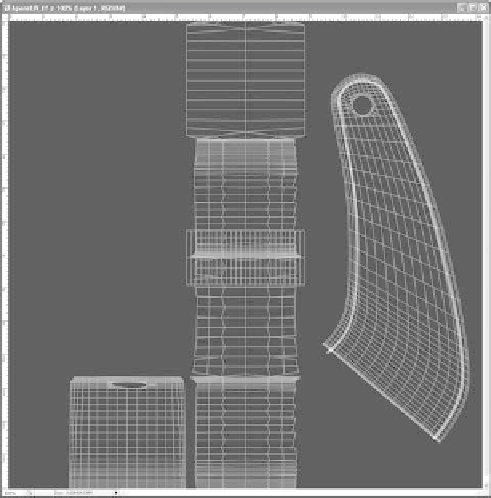
Figure 7.81
Follow the UV
lines to draw the
white stripe.