Graphics Programs Reference
In-Depth Information
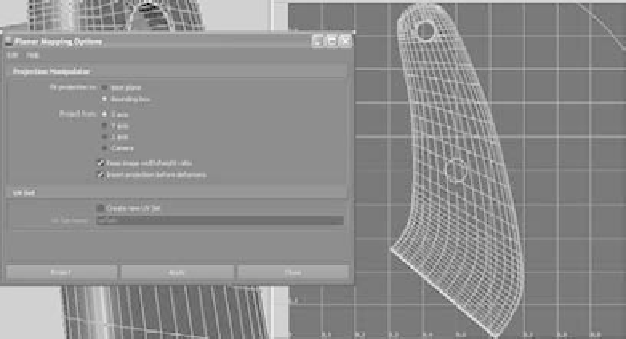
Figure 7.74
Create a planar
projection for the
UV layout.
5. Now the front face has a much simpler UV layout from which to paint. However, it's
centered in the UV Texture Editor and will overlap the other UVs of the same mesh.
You should move and size it to fit into its original corner, more or less, to make sure
no UVs double up on each other. In the UV Texture Editor, right-click the wire-
frame, and select UV to enter UV selection. Select all the UVs on those faces; all the
UVs for the A panel mesh appear in the UV Texture Editor, and you can see the over-
lap. See Figure 7.75.
6. Press W for the Move tool, and move the selected UVs to the side of the UV Texture
Editor. Press R for the Scale tool, and scale them down a bit to fit into the corner, as
shown in Figure 7.76.
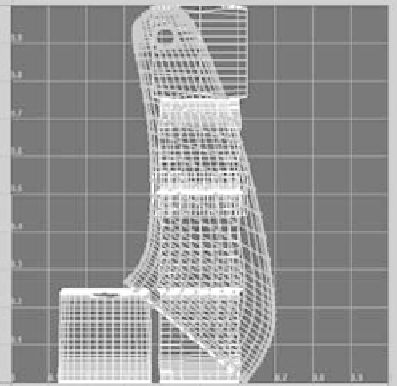
Figure 7.75
The UVs for the A panel, with the front side's UVs still
selected
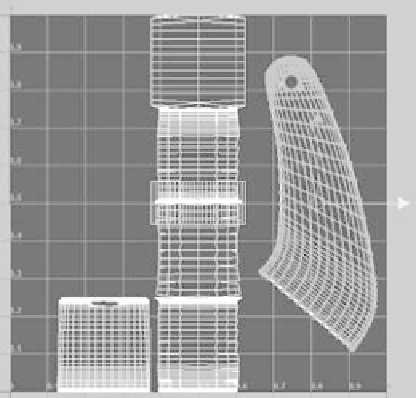
Figure 7.76
Position these UVs to make sure they don't overlap the
rest of the A panel mesh's UVs.