Graphics Programs Reference
In-Depth Information
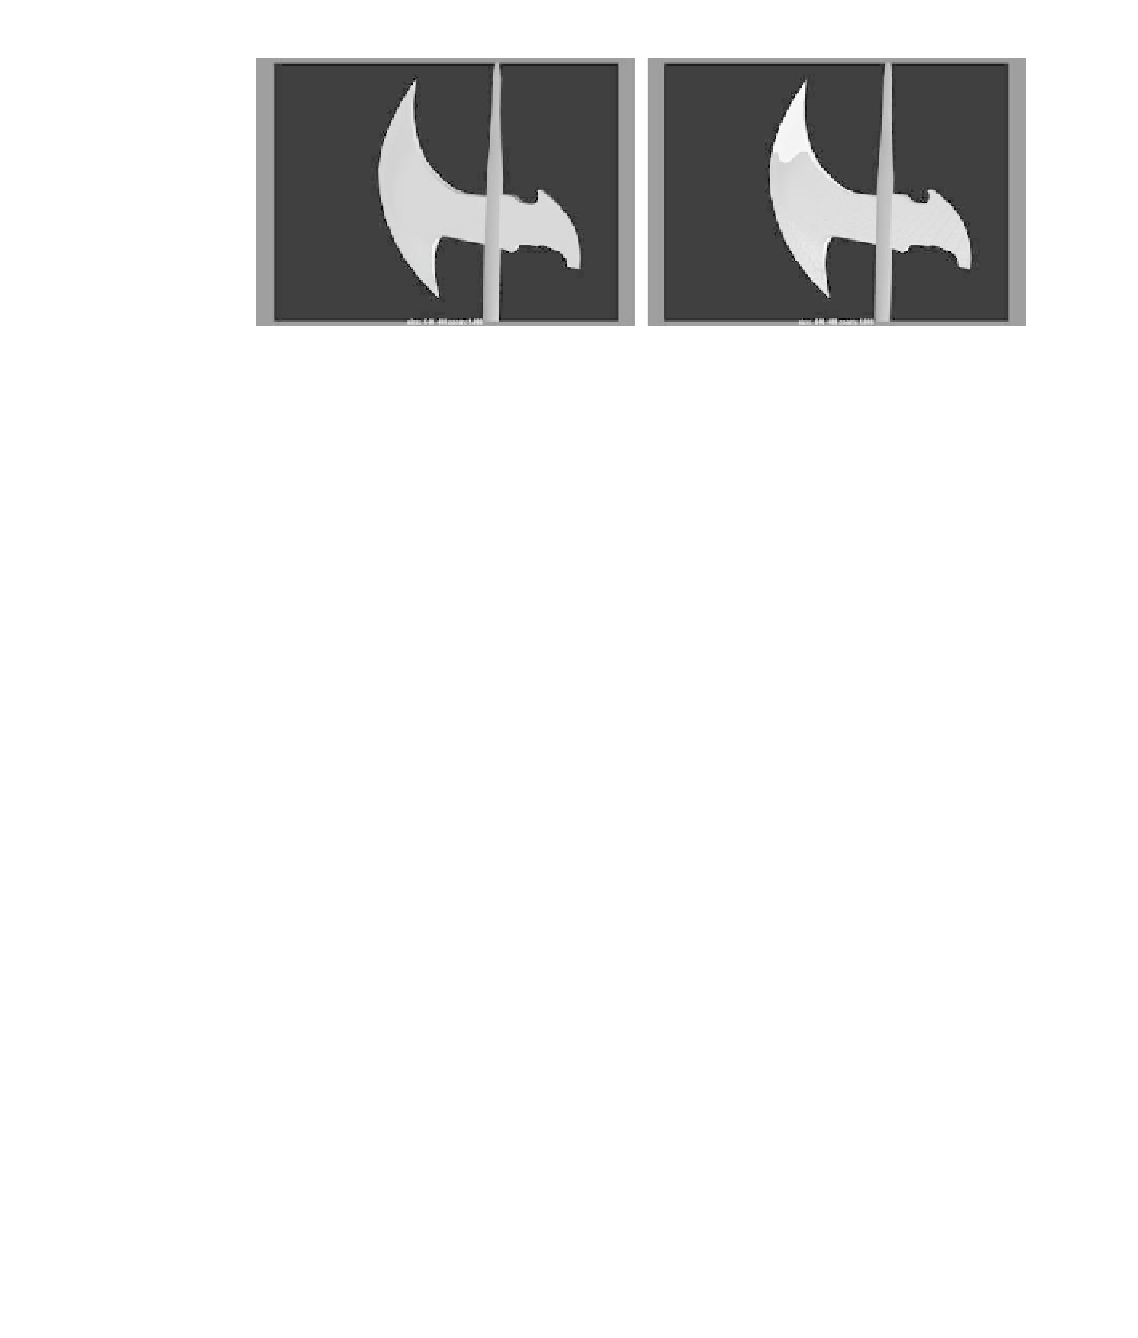
Figure 7.16
The axe head before
and after a reflec-
tion is mapped onto
the shader
Figure 7.17
Use placement
nodes in the scene
to scale and posi-
tion textures.
After you create the Env Chrome texture,
you'll see a green object in the Modeling
windows at the origin, as shown in
Figure 7.17. This is the Env Chrome's place-
ment node. You can manipulate this node
just as you manipulate other Maya objects—
in other words, move, rotate, and scale it.
Altering this will change how the envi-
ronment chrome projects itself in the scene.
For example, if you increase the size of this
placement node, the grid showing in the reflection of the axe will get larger. For more on
projections and placement nodes, see the “Texture Nodes” section later in this chapter.
The Wooden Handle
A glossy cherry wood would look good for the handle, so a Phong shader will be best:
1. In the Hypershade, choose Create
➔
Materials
➔
Phong. Set Diffuse to 0.70, Specular
Color to a light gray, and Cosine Power to 50.
2. Click the Map button for the color. In the Create Render Node window, select Wood
in the 3D Textures section. Figure 7.18 shows this texture in the Attribute Editor.
3. In the Wood Attribute Editor, adjust Filler Color to a nice reddish brown with an
HSV of 8.5, 0.85, and 0.43. Change Vein Color to a darker version of the filler
with HSV color values of 8.5, 0.75, and 0.08, respectively.
4. Change Vein Spread to 0.70, change Layer Size to 0.119, and darken Grain Color a bit
by pulling the slider to the left, but not all the way, as shown in Figure 7.19. This gives
you a nice dark cherry wood.
The Wood texture is a projected
3D texture; it's projected from a source onto the
object using a placement node, just like the Env Chrome on the axe head's reflection.
To assign the Wood texture from the Hypershade, select the handle, and right-click