Graphics Programs Reference
In-Depth Information
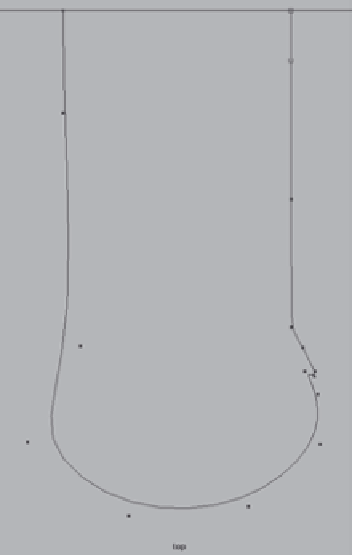
Figure 6.93
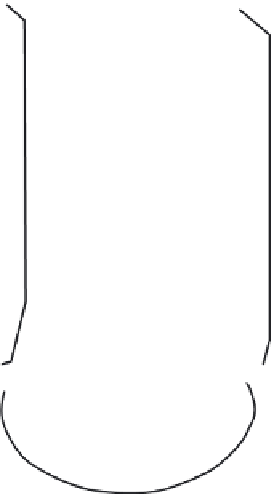
Match this profile
shape with a CV
curve in the top view.
4. You can adjust the curve by entering
Component mode and moving the CVs
to taste. Make sure the first and last
CVs line up. Use the grid to help you.
The final profile shape is essentially a
big U with a small notch cut out of the
lower-right side where the tire meets the
rim. Check the size of the profile curve,
and make sure it's about the size of half
the wheel in the top reference image
in the top view. This profile curve will
be revolved around an axis and will fill
in a surface for the entire wheel. You can
always scale the finished wheel later, so
getting this step perfect isn't critical.
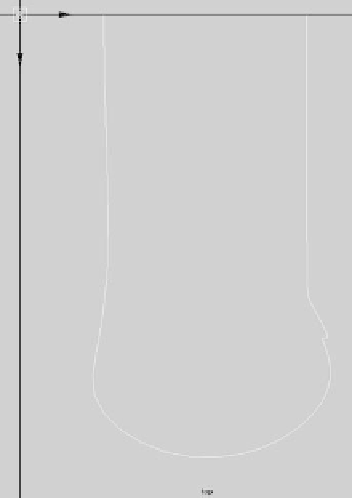
5. As you can see in Figure 6.94, the pivot
point of the curve is at the origin, no
matter where on the top grid you drew
the curve. You need to move the pivot
to the first CV of the curve. First, to dis-
play the CVs of the curve without enter-
ing Component mode, select the curve
and choose Display
➔
NURBS
➔
CVs.
6. Press W to activate the Move tool, and
then press Insert (Home on a Mac system
or fn+Home/Left Arrow key on a Mac-
book Pro) to enter Pivot mode, as you did
in the Solar System exercise earlier in the
topic. Hold down the V key to enable
Snap to Points, and snap the pivot to
the first CV of the curve (the upper-
right corner of the curve), as shown in
Figure 6.95.
First CV
Second CV
Direction of curve
Rim of wheel
Back of wheel
Tire
Figure 6.94
The pivot point for
the profile curve
you just created is
at the origin.