Graphics Programs Reference
In-Depth Information
Modeling the Wheels
What's a kid's wagon without wheels? That would be no fun. How else would it smash
into all your expensive stuff? You're going to make a wheel for the wagon and then dupli-
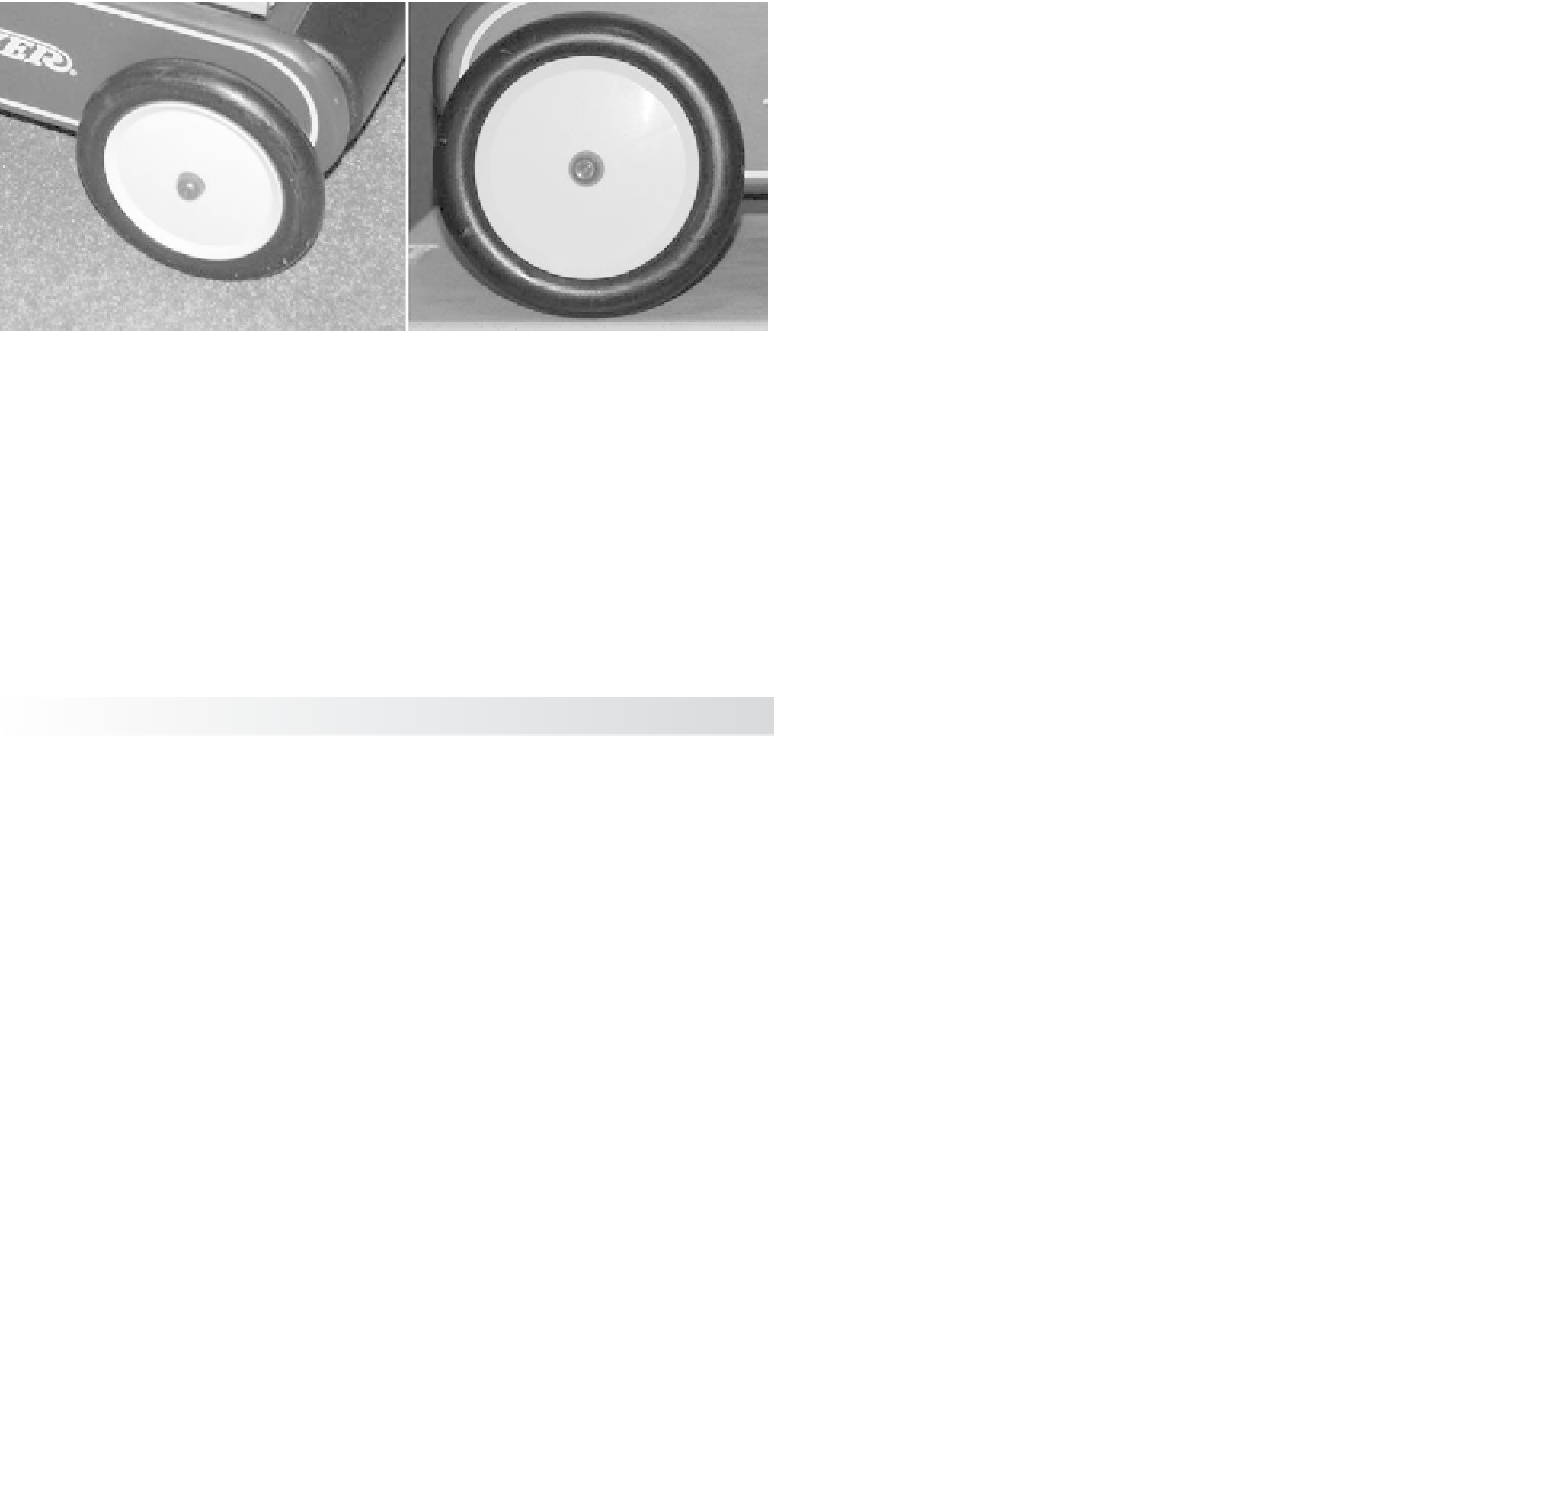
cate it. Figure 6.92 shows the object of your design. You'll complete the wheel model by
revolving a NURBS surface and converting it to a poly.
Figure 6.92
Ensign, take the
wheel! (The author
is a dork.)
Creating the Profile Curve
You'll begin the first wheel by creating a profile curve to match the cross-section of the
wheel on the wagon. This is where coloring between the lines in kindergarten comes into
play. You did color inside the lines, right?
1. Select Create
➔
CV Curve Tool. In the top view, lay down the first CV on the grid.
As you'll notice, the first CV is displayed as a closed box. Lay down the second CV a
little lower in the
Z
-axis, and you see the second CV displayed as an open-sided box.
This display shows you the direction of a curve. Lay down a third CV to the right of
the second CV in the
X
-axis, as you see in the upper-right CVs shown in Figure 6.93.
It's important to create the curve in the top view.
No curve is displayed between the three CVs. A NURBS curve based on CVs will begin to
appear after you've laid down the fourth and all subsequent CVs.
2. To match the profile shape, continue laying down the rest of the CVs counterclock-
wise to the curve, as shown in Figure 6.93.
3. After you lay down the last CV at the upper-left corner, press Enter to complete the
curve. The CV display turns off, and you have a bare curve.