Graphics Programs Reference
In-Depth Information
5. Using the
polygon proxy
to shape the starfish is a good way to create broad strokes
when creating your final model. It won't yield good results by itself, however.
Press F8 to go back to the Object Selection mode, where
you can select the starfish and not its vertices, and then
switch back to Standard mode (choose Subdiv Surfaces
➔
Standard Mode). With the starfish still selected, enter
Component mode to select vertices. The vertices of the
starfish appear in the same locations as the points on
the polygon proxy and are represented with zeros, as in
Figure 5.79.
6. Right-click the starfish to open a marking menu, and
choose Display Level
➔
1. You'll define the arms of
the fish at this level of detail. Select the vertices (now
represented with 1s, as in Figure 5.80) between each
point, and pull them in toward the center of the fish.
This level of detail is automatically generated when you
convert a poly image to a subdivision surface. Maya also
has another level of detail (Display Level
➔
2), which you'll use later.
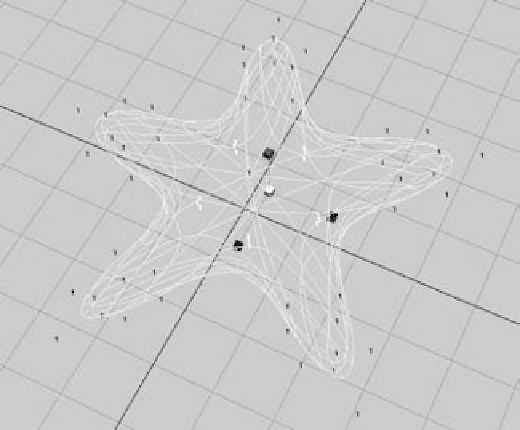
Figure 5.79
The zeros represent
the zero level of
detail on this subdi-
vision starfish and
correspond to the
vertices on its poly-
gon proxy.
If by chance you don't see Display Level
➔
2 as an option and Display Level
➔
1 is the high-
est detail level you have, you can create a higher level of display by selecting all the level 1
vertices on the starfish in Component mode and choosing Subdiv Surfaces
➔
Refine Selected
Components to create level 2 vertices. You'll then be able to choose Display Level
➔
2 when
needed.
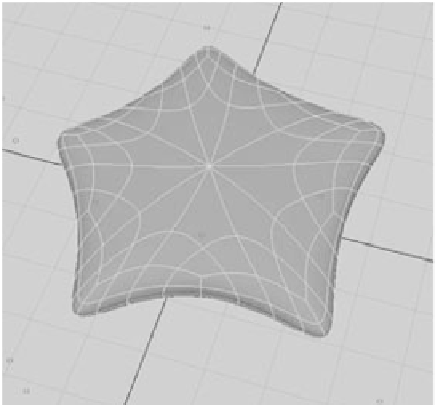
Figure 5.80
Level 1 of the
starfish