Graphics Programs Reference
In-Depth Information
Converting to a Subdivision Surface
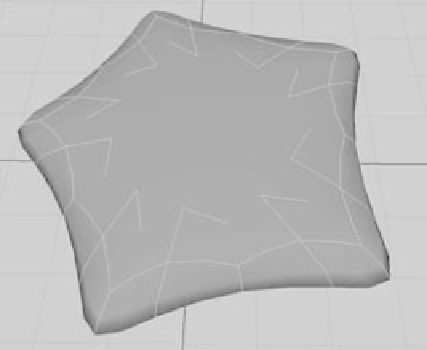
Now that you have the basic polygonal shape for the starfish, convert it to a subdivision
surface. Follow these steps:
1. Select the star, and then choose Modify
➔
Convert
➔
Polygons to Subdiv. The star
turns into a smooth subdivision surface, as shown in Figure 5.77.
2. Although you've all but lost the points of the star by converting it to smooth subdivi-
sions, you have far greater control. Press the 3 key to increase the display resolution
of the surface. As they do with NURBS objects, the 1, 2, and 3 keys set the display
resolution of a subdivision surface.
3. With the starfish still selected, switch to the Surfaces menu set (F4) and choose Sub-
div Surfaces
➔
Polygon Proxy Mode. This switches Maya to a low-level editing mode
and restores the shape of the star as a cage around the starfish (see Figure 5.78). Note
that the star here isn't the surface of the starfish, but a proxy that shapes the subdivi-
sion surface, much as a lattice does. Switch to Component mode (F8), and you see
vertices on the polygon proxy (sometimes called a
cage
) that you can move to shape
the starfish.
4. Change the display of the vertices of the subdivision surfaces before continuing. To
do so, click Window
➔
Setting/Preferences
➔
Preferences and select Display
➔
Subdivs
in the Categories list on the left. Set the Component display to Numbers for this
exercise.
Figure 5.77
Converting the star shape to a subdivision
Figure 5.78
The starfish's cage