Graphics Programs Reference
In-Depth Information
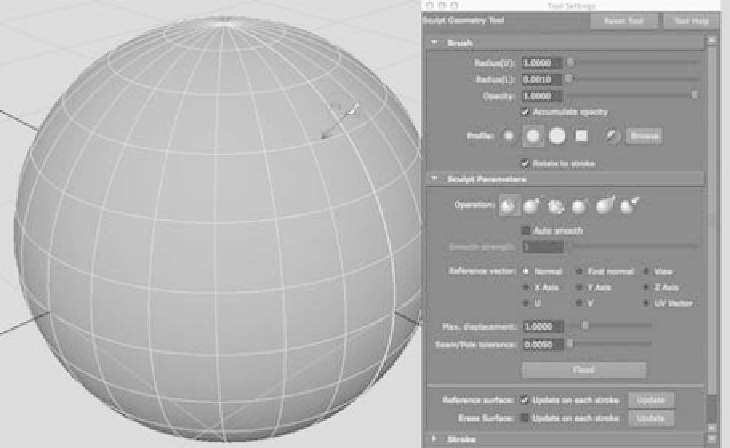
Your cursor changes to the Artisan brush, as shown in Figure 5.48. The red circle
around the brush cursor and the lettering displays the type of brush you're currently
using. When the red lines point outside the circle and the lettering reads
Ps
, you're using
the
push
brush that pushes in the surface as you paint it. The black arrow pointing
toward the sphere's center is a measurement of the Max Displacement slider in the tool
settings. This sets how far each stroke pushes in the surface. The lower the number, the
less the brush affects the surface.
Figure 5.48
The Sculpt Geom-
etry tool lets you
mold your surface
by painting on it.
Here the brush is set
to push in the sur-
face of the sphere as
you paint.
3. Click and drag the cursor across the surface of the sphere to get a feel for how the
surface deforms under your tool. Use the Max Displacement slider to control the
force of the brush, and use Radius (U) and Radius (L) to set the size of the brush.
4. Switch your brush type to
pull.
Your cursor changes to read
Pl
, and the red lines
appear on the inside of the circle (see Figure 5.49). You can then pull out the surface.
The Opacity slider also controls the force of the brush, but it's subtler than Max Displace-
ment to give you greater control. Because this is after all a 3D painting tool, Opacity controls
how much value you paint onto the surface. The value in this case isn't a color, but how far
the surface is deformed. You'll see how Artisan comes into play in other aspects of Maya later
in the topic.
5.
Smooth
blends the pushed in and pulled out areas of the surface to yield a smoother
result.
Erase
simply erases the deformations on the surface, setting it back to the way
it was before.