Graphics Programs Reference
In-Depth Information
If detaching the surface doesn't work the first time, select the same isoparms again and
detach surfaces again. This sometimes happens when you try to cut a NURBS surface at a
side isoparm where the surface is beginning and ending.
Adding End Caps
At this point, you'll cap the ends of the cylinders to
close them off. You can continue with your own file or
load the file
NURBS_pump_v01.mb
from the Locomotive
project on the CD and check your work so far. The trick
will be to add four isoparms using the Insert Isoparms
function you read about earlier in this chapter to create
the caps.
To cap the ends, follow these steps:
1. Select the end cylinder, right-click the geometry,
and select Isoparm from the marking menu. Select
four isoparms (make sure you hold down Shift
while selecting the isoparms so as not to deselect
them), as shown in Figure 5.28, and choose Edit
NURBS
➔
Insert Isoparms
r
.
Figure 5.28
Select these four isoparms.
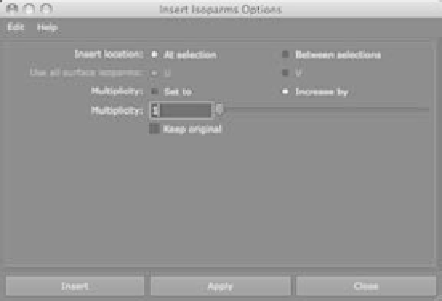
Make sure your settings match those in Figure 5.29. This inserts four isoparms into
the end cylinder that you can use to close the end to make the cap.
Figure 5.29
The default Insert
Isoparm settings
2. Select the end CVs to scale them down to close the cap. The easiest way to do this
is to select the hull that controls all the edge CVs. Right-click the end cylinder, and
select Hull. Select the very outermost hull, and scale it down as shown in Figure 5.30.
Doing so closes the end cap. Don't worry about leaving a small hole in the cap; you'll
complete this pump when you finish the locomotive model.