Graphics Programs Reference
In-Depth Information
Creating Polygonal Primitives
The most notable difference between the options for a NURBS primitive and a poly
primitive are the options for surface detail. With a NURBS surface, sections and spans
define detail. With a poly surface, detail is defined by
subdivisions
, which are the number
of rows and columns of poly faces that run up, down, and across. The more subdivisions,
the smoother the surface will be.
Choosing Create
➔
Polygon Primitives gives you access to the poly version of most of
the NURBS primitives. Opening the option box for any of them gives you access to their
creation options. To see an example, choose Create
➔
Polygon Primitives
➔
Sphere, and
open the option box.
To get started, first make sure History is turned on, or there will be no creation node;
then, click Create to make the poly sphere. Open the Attribute Editor, and switch to its
creation node, called
polySphere1
. In the creation node
polySphere1
, just as in the option
box, you'll find the Subdivisions Axis and Subdivisions Height sliders, which you can use
to change the surface detail retroactively.
The Polygon Tool
You use the Polygon tool (switch to the Polygons menu set, and then choose Mesh
➔
Create Polygon Tool) to create a single polygon face by laying down its vertices. When
you select this tool, you can draw a polygon face in any shape by clicking to place each
point or vertex. Aside from creating a polygon primitive by choosing Create
➔
Polygon
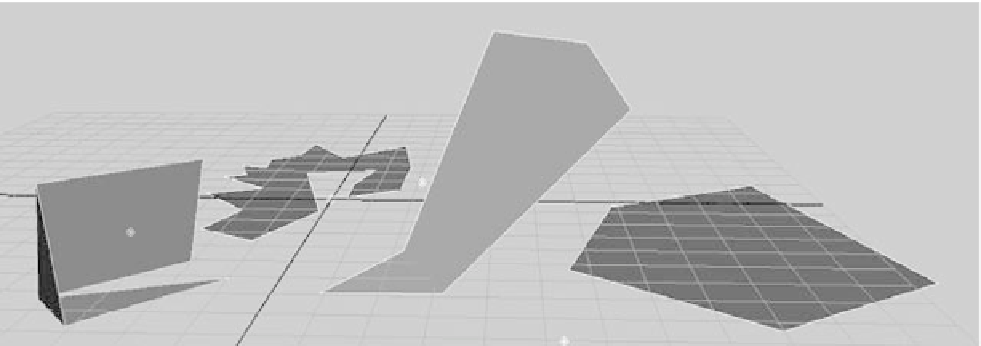
Primitives, this is the simplest way to create a polygon shape. Figure 4.7 shows some
simple and complex single faces you can create with the Polygon tool.
After you've laid down all your vertices, press Enter to create the poly face and exit the
tool. For complex shapes, you may want to create more than just the single face so that
you can manipulate the shape. For example, you may want to fold it.
Figure 4.7
Polygon faces
created with the
Polygon tool