Game Development Reference
In-Depth Information
Chapter 4
Fleshing Out Your World
During the course of the past two chapters, I've covered many basic but important aspects of RPG Maker VX
Ace (RMVXA). Now it is time to build on what you have learned, to start making our very own game. The first order
of business is to add a few more maps, as we only have the two we created so far. To make sure that we are using the
same content, and also to show off the relevant feature, let's use some premade maps.
Adding Content to Our Game World
Two role-playing game (RPG) mainstays are towns and dungeons. Additionally, most RPGs have a world map that
connects the various locations that the player can visit during the game. So, on that note, let's add three new maps
from the premade selection that RMVXA has available.
1.
From the main map screen, right-click your project's name on the lower-left corner and
select Load Sample Map.
You could have done the same thing by right-clicking MAP001 or your second map. That would have caused
the new map to be placed under the previous map. Doing so is rather useful for organizing maps that share a similar
purpose. Figure
4-1
shows an example of what I mean.
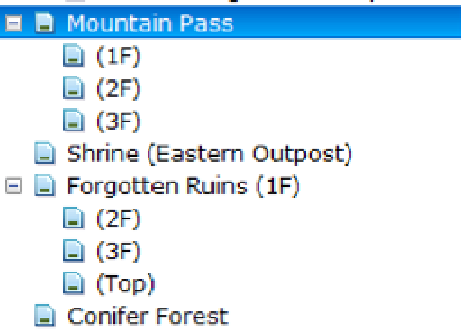
Figure 4-1.
A screenshot of a sample map list
■
In a sense, nesting related locations makes it easier to see what goes where on a meta level. This becomes
more important as the size of the game increases. This is not actually necessary but can be a time-saver.
Note