Game Development Reference
In-Depth Information
Tips
•
As a reminder, the rectangle drawing tool for tiles is directly to the right of the pencil tool.
•
You can find the specific coordinates for a certain square on your map by looking near the
lower-right corner of the map screen while your cursor is over said square.
•
I specified (23,15), as this is the limit of how much of the map I can see while keeping RMVXA
in a non-maximized form and not using the scrollbars. If you can see more or less of the map,
you may have to drag, squish, or expand your program size to be able to use the rectangle
as I intend.
As you can see, the tileset for Exterior has different tiles than the Field tileset. Find (11,0) on the new map and
the Dirt (Meadow) tile and draw a vertical line to (11,4). After that, take some time to add some terrain and play with
the tileset.
Notes
•
Adding certain types of terrain, such as ledges and walls, will cause small shadows to be
rendered automatically. This is meant to simulate the effects of sunlight. You can use the
Shadow Pen (the final drawing tool I have not mentioned as of yet) to remove those shadows
or add some more of your own.
•
Tilesets have multiple pages. The Exterior tileset has three pages. Page A of a tileset is
dedicated to major terrain, such as grass/dirt/snow, ledges, and structures. Other pages
contain doodads to flesh out what would otherwise be a fairly dull map.
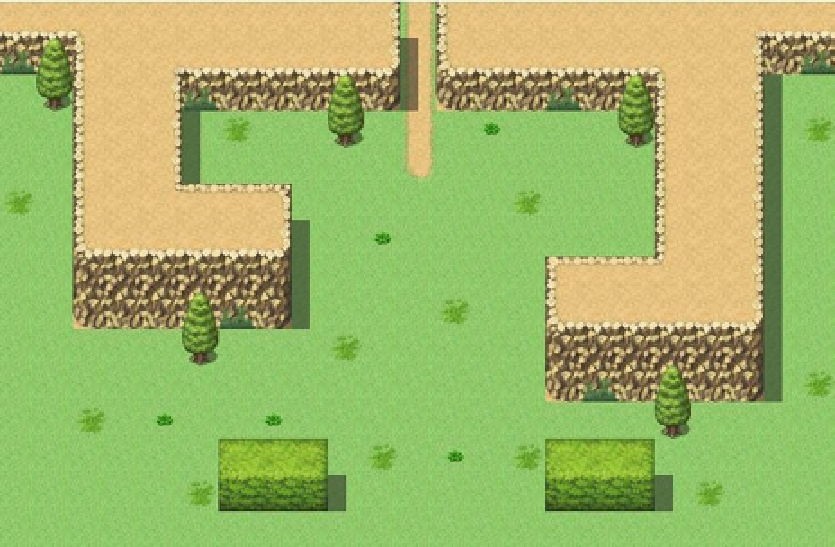
You can find my rendition of the 23
×
15 area in Figure
2-12
. Make sure your road is in the right place (and I'd
highly recommend having at least the ledges directly to the sides of that road as well). Once that is done, switch to
Event Mode and right-click (11,0). It's time to create another transfer event.
Figure 2-12.
My final map for the second area