Graphics Programs Reference
In-Depth Information
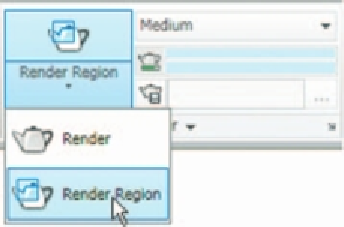
When the material has been applied,
click
Render Region
from the
sub-panel of the
Render/Render
panel (Fig. 15.6) and after selecting a
window surrounding the model, the model renders (Fig. 15.6).
Fig. 15.6
The Render Region button from the Render/Render panel
First example - applying a Masonry Brick material
( Fig. 15.7 )
Construct the necessary 3D model (Fig. 15.8). In the
Material Browser
palette, in the
Autodesk Library
list
click
Brick
. A number of icons
appear in the right-hand column of the palette representing different brick
types.
Pick
the
Brown Modular
icon from the list. The icon appears in
the
Materials in this document
area of the palette.
Right-click
in the
icon and in the menu which appears select
Assign to Selection
.
Click
the
model. Select
Render Region
from the
Render/Render
panel (Fig. 15.6).
Window the model. The model renders (Fig. 15.7).
Second example - applying a Metal material
( Fig. 15.8 )
Construct the necessary 3D model. From the
Materials Browser
palette
click
Metals
in the
Autodesk Library
list. Select
polished Brass 7
from
the metal icons.
Click
Assign to Selection
from the
right-click
menu in
the
Materials in this document
area and
click
the model. Then with the
Render Region
tool render the model (Fig. 15.8).
Third example - applying a Wood material ( Fig. 15.9 )
Construct the necessary 3D model - a board. In the
Materials Browser
palette
click
Wood
in the
Autodesk Library
list. Select
Pine Coarse
from
the wood icons .
Click
Assign to Selection
from the
right-click
menu in
the
Materials in this document
area and
click
the model. Then with the
Render Region
tool render the model ( Fig. 15.9 ).
Search WWH ::

Custom Search