Graphics Programs Reference
In-Depth Information
60
R40
Hole
Ø
40
R20
R20
R10
Ø120
Ø60
Ø40
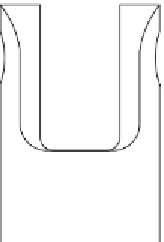
Fig. 7.3
Front and end views of the solid
60
R40
Hole Ø40
R20
R20
R10
Ø120
Ø60
Ø40
Fig. 7.4
Front and end views and plan of the solid
5.
In the three-view drawing add centre lines.
6.
Make the
Hidden
layer the current layer and add hidden detail lines.
7.
Make the
Text
layer current and add border lines and a title block.
8.
Make the
Dimensions
layer current and add all dimensions.
The completed drawing is shown in Fig. 7.6 .


Search WWH ::

Custom Search