Graphics Reference
In-Depth Information
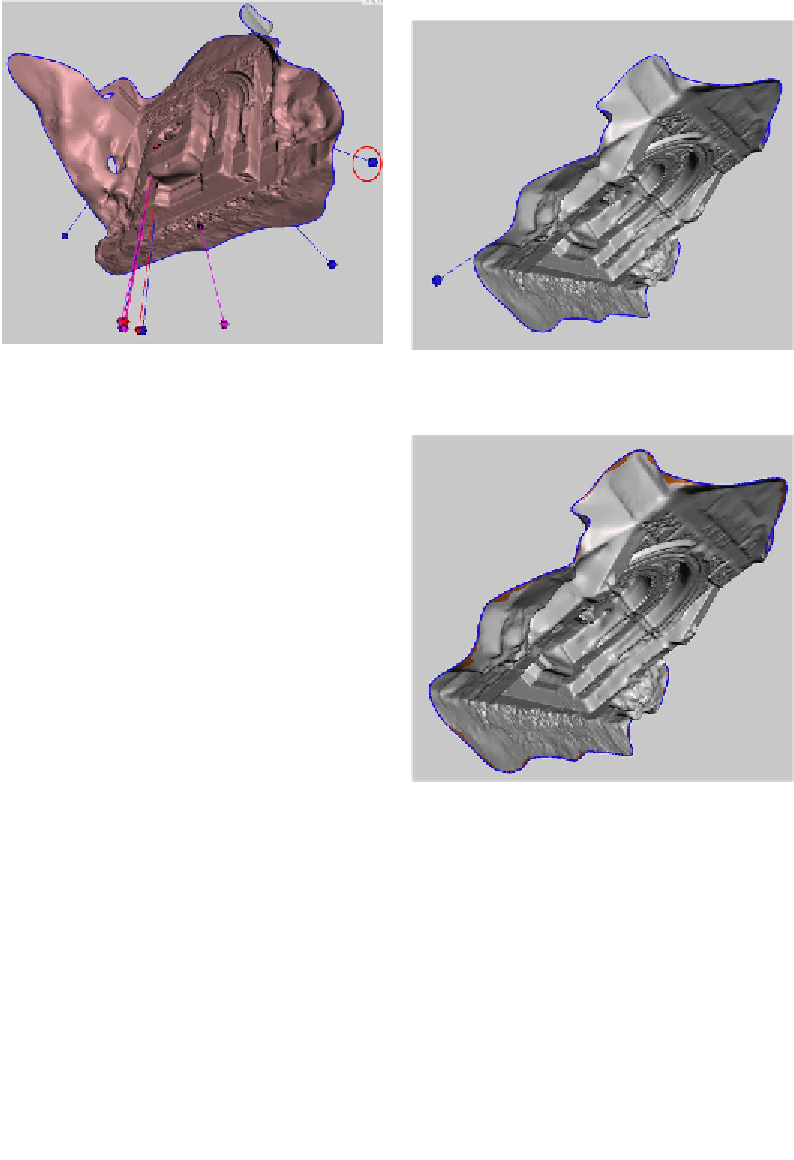
Figure 6-26.
Model shown with sphere indicating
large area of open mesh
Figure 6-27.
One sphere left—time to cap the hole
Repair the problem areas
Clicking on a sphere will repair the prob-
lem. Right-clicking on the sphere will se-
lect the area and allow you to edit the
selected part of the mesh. When you
right-click, editing options will appear
on the side of the screen.
First, left-click on any red or magenta
spheres to close the nonmanifold areas
and reconnect the components. The
sphere and indicator line will disappear
after you click on it, indicating that the
problem is resolved.
Next, close all of the holes by clicking on
the blue spheres, with the exception of
the sphere that represents the large area
of missing/open mesh. Orbit around the
model to make sure you get them all.
Figure 6-28.
Selected edges
Smooth out the edges
From the menu at the top of the screen,
select Analysis and then Smooth Bound-
ary, as shown in
Figure 6-29
.
Then click Accept from the top menu.
Figure 6-30
shows the result.
Select the last sphere
Next, right-click on the last blue sphere
that represents the large area of open
mesh (see
Figure 6-27
). The blue edges
will now have a dark orange tint to them
where the mesh is selected, as shown in
Figure 6-28
.