Graphics Reference
In-Depth Information
For PLA, an extruder temperature of 185 is
probably as low as you want to go (this Ulti-
maker profile is set for PLA printing). For ABS,
I'd recommend starting at 220.
If you have a heated bed, use it at whatever
temperature you feel comfortable with,
since anything will help. For PLA, 60 is prob-
ably a good place to start, and 110 is good
for ABS (although if your bed takes forever to
get that hot, dial it down so you won't have
to wait hours for a print to start).
Figure 5-18.
Filament settings
If you don't have a heated bed,
keep the bed temperature at 0. If it
isn't at 0, the print will never start.
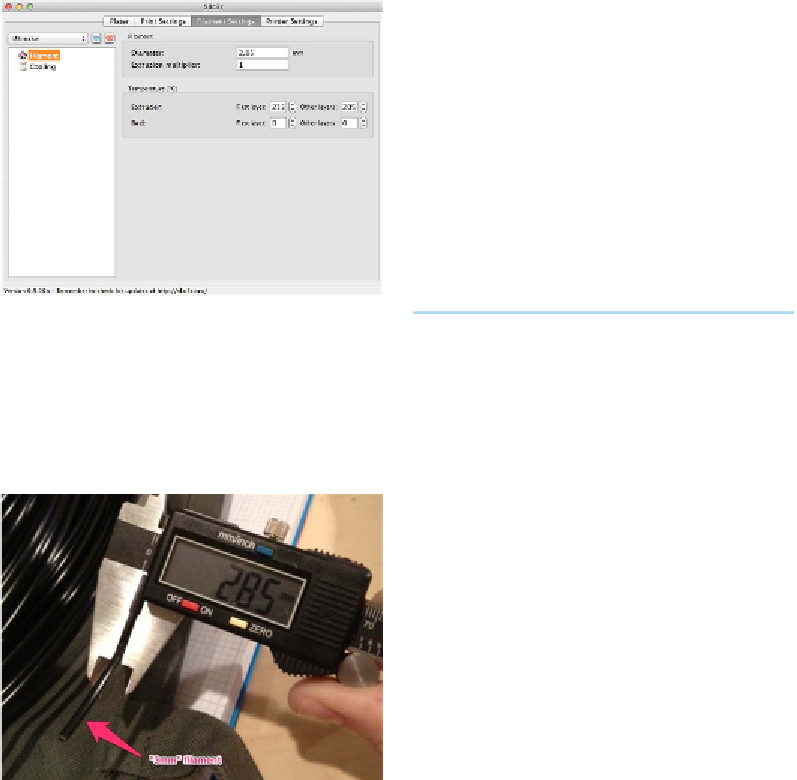
So, take a caliper or micrometer to your fila-
ment at a few different positions, and aver-
age your readings (
Figure 5-19
). Input the
average into Slic3r.
Cooling
Next up is the cooling settings page
(
Figure 5-20
). Start with the fan settings. If
your machine doesn't have a fan directed at
the extruder or build platform (
Figure 5-21
),
you can skip this step. If you have a fan, check
“Enable auto cooling” and read the descrip-
tion that pops up when you hover your
mouse over it—this setting will intelligently
cool only when needed, and keep the fan off
at all other times.
Figure 5-19.
Caliper measurement
The extrusion multiplier will simply alter the
value you just entered into the diameter box.
Unless you have a specific reason to do so,
leave this at 1.
Extruder and bed temperature are also very
important. You can specify a different tem-
perature for the first layer. If anything, run
your extruder hotter than usual to start, to
promote extra gooeyness and stickiness.