Graphics Reference
In-Depth Information
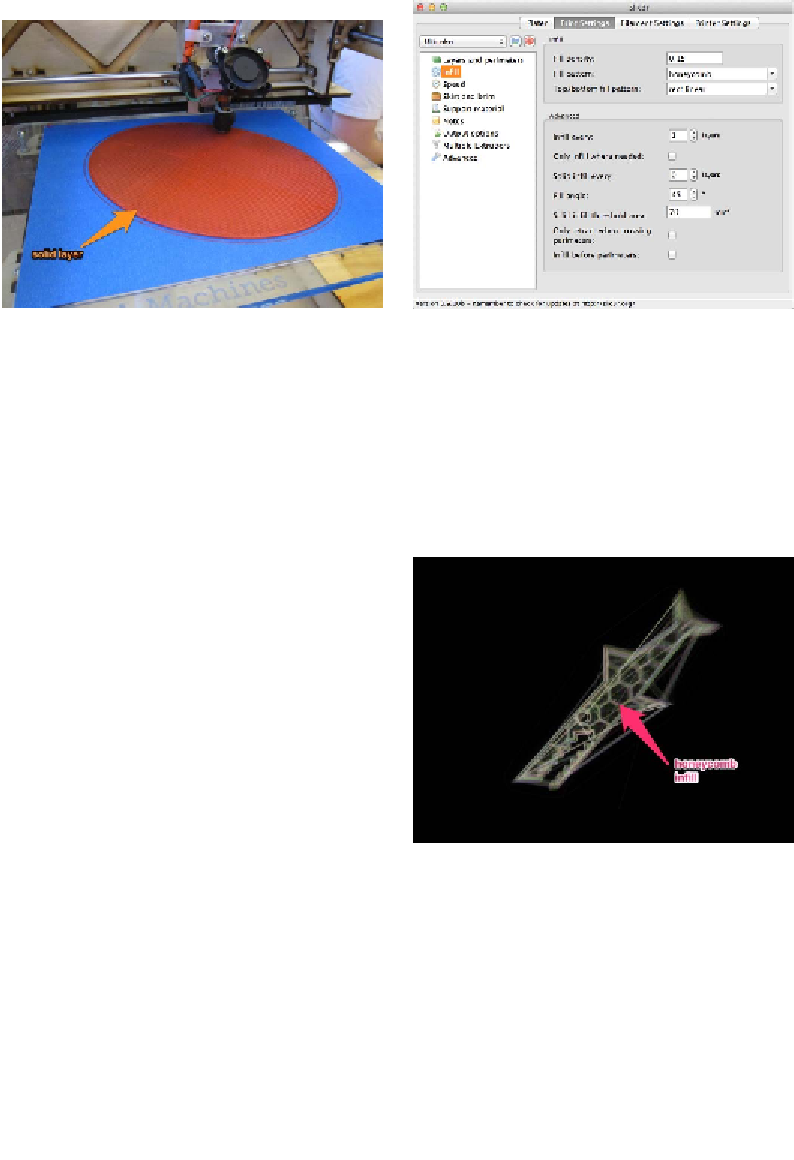
Figure 5-6.
Solid layers
Figure 5-7.
Setting fill options
Keep in mind that if you're printing a very
large part, each solid layer will take up a good
chunk of time, so dial those values down if
you value print time over part strength.
The fill pattern (
Figure 5-8
) is the path that
the extruder takes when doing the infill.
These don't have a huge impact on the struc-
tural stability of the part. The “Top/bottom
fill pattern” is the pattern used on the top and
bottom solid layers.
Infill
Fill density (
Figure 5-7
) is the percentage of
each layer that will be filled in with plastic
(0.2 = 20%). You shouldn't have to go above
60% for any reason, unless you want a really
dense part. A 20% fill is just fine for your ev-
eryday prints, but adjust at will and play with
the parts once they're complete to feel the
difference in structural stability.
A density of 0 will only print the perimeter(s)
of your part, so it will be completely hollow.
Figure 5-8.
The fill pattern inside an object
The advanced settings give you even more
control over the infill, although I don't think
I've ever touched them. “Infill every 2 layers”
will alternate between layers of filled (with
the fill density you chose) and hollow. “Infill
every 3 layers” will have two hollow layers