Graphics Reference
In-Depth Information
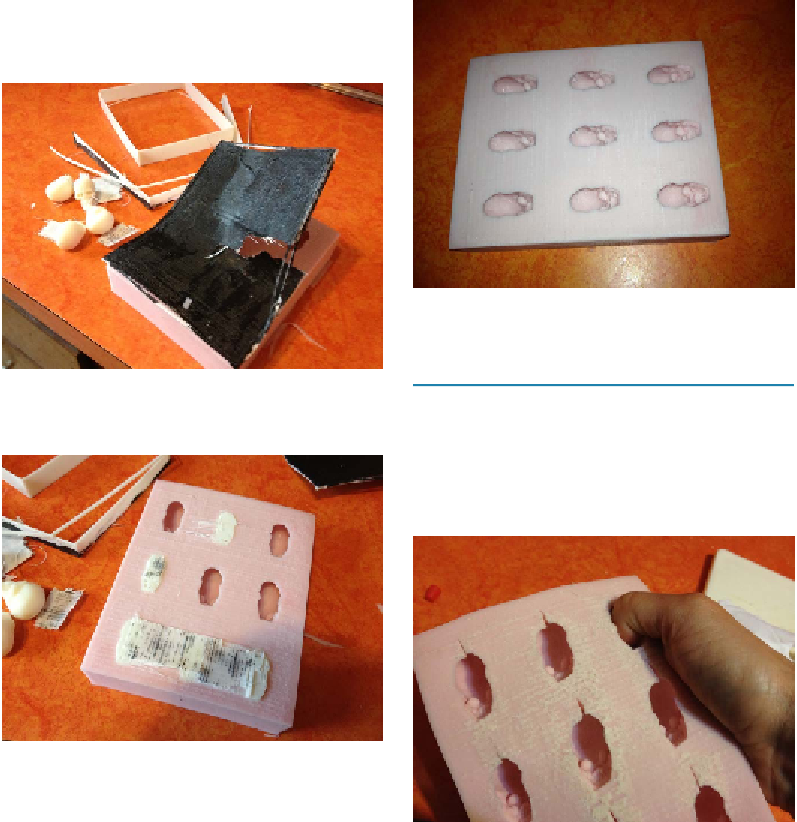
mold maker.
Figure 21-9
and
Figure 21-10
show the process.
Figure 21-11.
Final silicone candy mold
4. Add Slits to the Mold
Figure 21-9.
3D-printed mold form destruction!
Cut notches in the mold with a razor blade
at the base of the skulls (see
Figure 21-12
).
This will make it much easier to demold the
chocolates.
Figure 21-10.
Removing the skulls from the silicone
mold
Give the mold (
Figure 21-11
) a wash with
soap and water in the sink, and I let it dry
completely before attempting to cast choc-
olate. Water does bad things to chocolate
when you are casting it.
Figure 21-12.
Slits added to the candy mold
I came across this by accident. After demold-
ing many rounds of chocolates, the base of
one of the skulls started to split a little from
flexing the mold. I found that it had no im-
pact on the quality of the chocolates coming
out of the mold and it made it much easier
to demold the chocolates. I cut little notches
with a razor blade straight back perpendic-