Graphics Reference
In-Depth Information
4. Stop the rotary tool and hold it steady in
a fixed position at a right angle to the
work, while applying a little downward
pressure.
It can help to use a piece of cardboard or
foam as a friction brake to stop the rota-
tion quickly. (Unlike a professional spin-
welding tool, most rotary tools need a
second or two to spin down.)
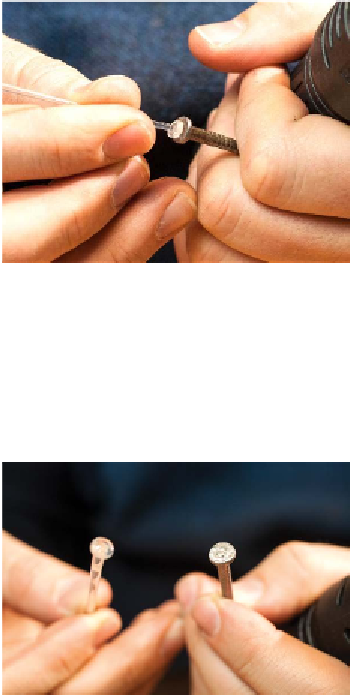
5. Tap the soft end of the spike on a flat,
cool surface until it deforms into a flat
rivet head. I tend to use a steel nail head,
but any flat surface that can cool the fil-
ament rapidly will work:
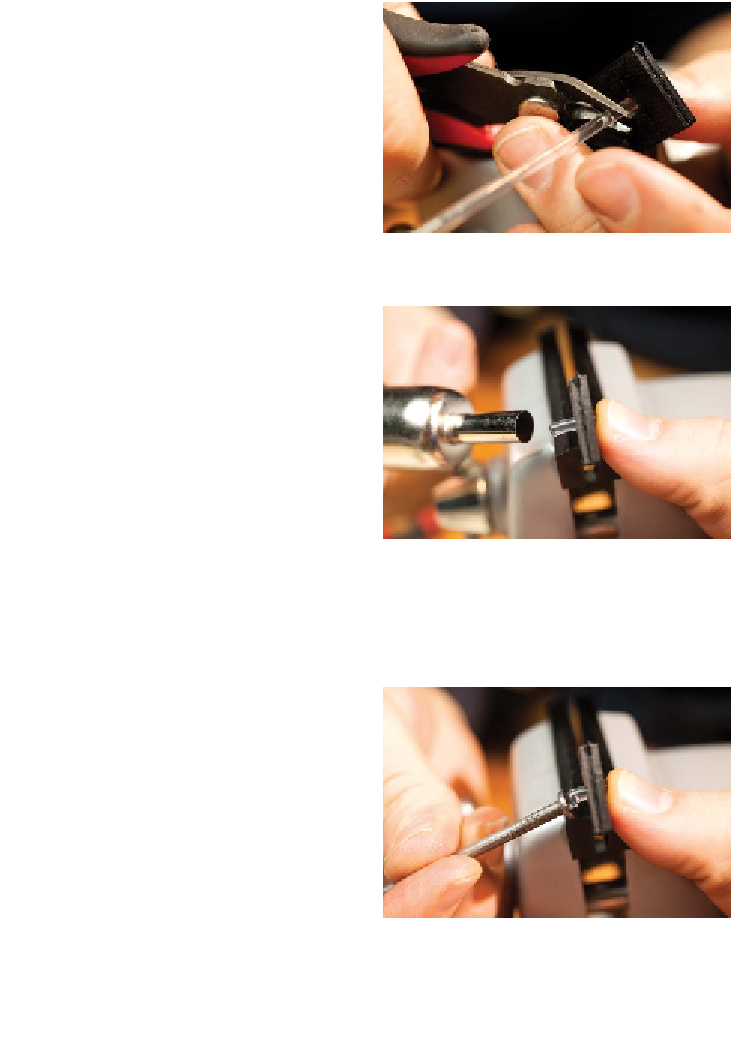
7. Insert the rivet into the mounting point
until the factory head is flush, then clip
the tail a little ways beyond where you
need the second head of the rivet:
8. Use a heat gun to soften the protruding
tail of the rivet until it begins to deform:
6. Your rivet should have a nice flat head,
wide enough to rest firmly on the edge
of the mounting hole. In rivet lingo, this
is the “factory head,” as opposed to the
second head or “shop head” you'll create
on the other end when installing the riv-
et:
9. Use a flat, smooth surface to press down
and deform (“buck”) the tail, creating the
rivet's shop head. I find that a large steel
nail head works best—it's easy to handle
and it cools the shop head quickly: