Graphics Reference
In-Depth Information
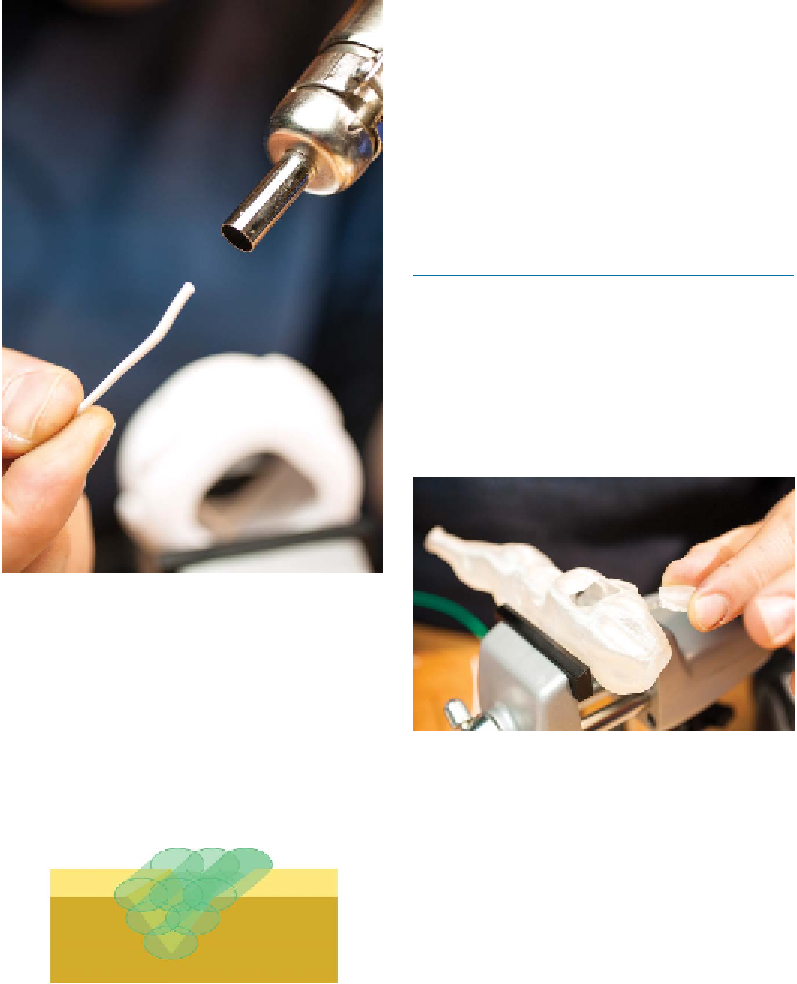
In this idealized diagram, we weld one bead
at the bottom of the seam, two beads on a
second layer, and three on a third (top) layer,
fusing the parts through their entire thick-
ness.
To hide the weld, you can sand it back flush
and then paint or seal the surface.
Friction Welding to Repair a
PLA Model
Punctured mysteriously by the TSA
(
Figure 13-12
), a part from Micah Ganske's
sculpture Industrial Ring Habitat (see
Figure 13-13
for context) needs a patch. We'll
use red filament to make the friction weld
easily visible.
Figure 13-10.
For large gaps, soften a short scrap of
filament to use as filler
5. Friction Weld the Seam
Now weld the whole seam in two or three
layers, as shown in
Figure 13-11
. A single
weld would probably bond the parts at the
surface only, allowing the seam to be broken
if the parts are torqued.
Figure 13-12.
Punctured “Ring Habitat”
Figure 13-11.
Friction welding the seams, using sev-
eral layers