Graphics Reference
In-Depth Information
Figure 12-7.
Adding the prints to the solution
Figure 12-9.
Drying your prints
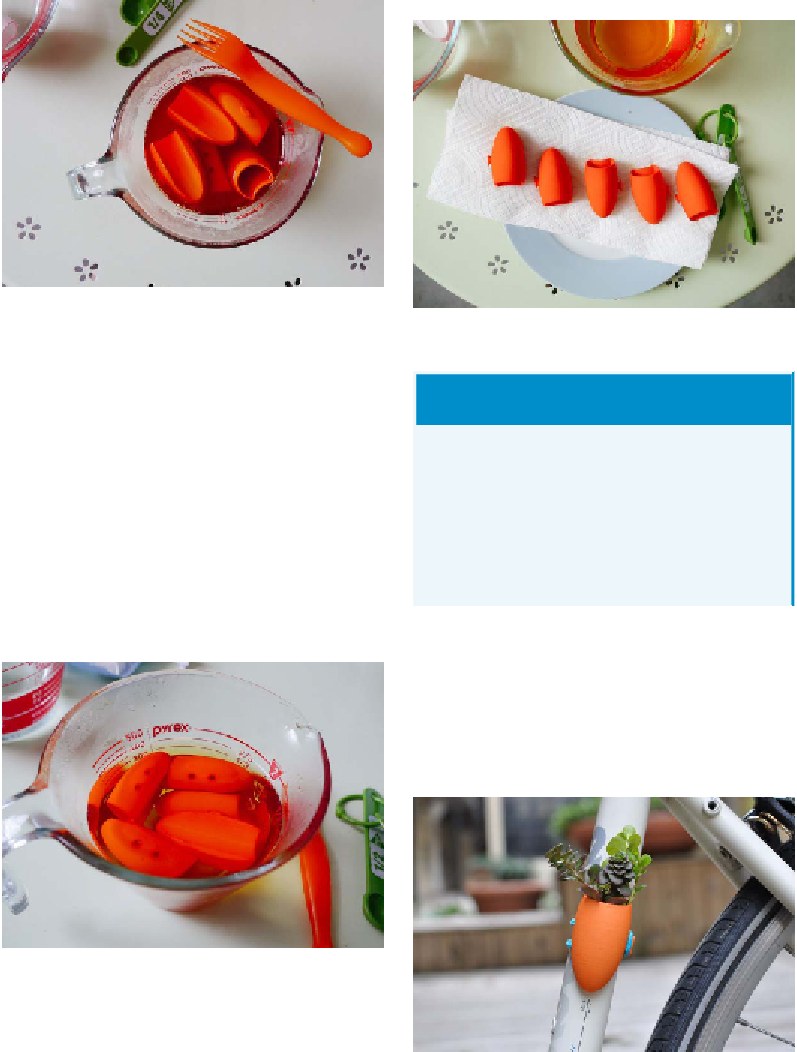
4. Rinse
Optional Step: Seal
Rinsing your prints is very important
(
Figure 12-8
). You can rinse them with cold
water to remove the excess dye. We also like
to let the pieces sit in boiling water for a few
minutes for any excess dye to soak out. If
you're going to be dyeing jewelry or any-
thing that will be worn close to the skin, this
is a very important step as excess dye could
stain the skin or clothes.
Nylon is a porous material that will readily ab-
sorb particles and dirt it is exposed to. We rec-
ommend sealing your prints with a polymer
varnish (like Liquitex) or clear acrylic paint to
protect the color and your piece from getting
dirty.
6. Show It Off!
You just put all this hard work into your 3D-
printed object—show it off (
Figure 12-10
)
and tell everyone about it!
Figure 12-8.
Rinsing
5. Dry
Next, dry everything out (
Figure 12-9
).
Figure 12-10.
One of the bike planters in action