Graphics Reference
In-Depth Information
Figure 7-3.
Finding a horn
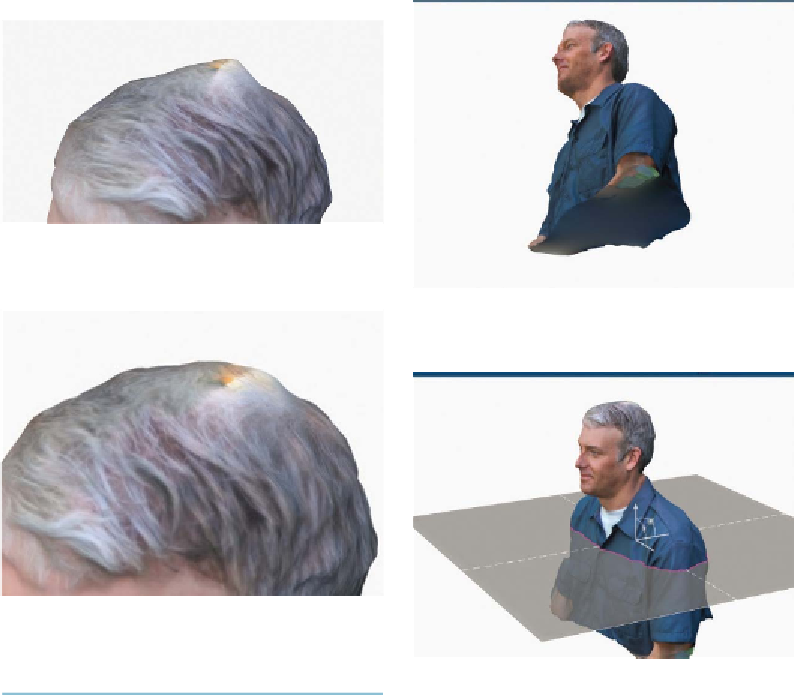
Figure 7-5.
The view from the bottom
Figure 7-4.
Trimming down the horn
6. Make It “Watertight”
Figure 7-6.
Slicing off the bottom
Click on Inspect Model and Cap All to auto-
matically repair any holes.
The bottom of your model will be closed
now, but it might be an extended blob. For
best results on the 3D printer, your model
should be flat on the bottom (
Figure 7-5
).
Click on Plane Cut Model, then drag and/or
rotate the plane to where you want to slice
the bottom off your model (
Figure 7-6
). Click
Apply and your model will have a flat bot-
tom. Resave your model to My Projects.
You can export your model as an STL file for
printing now, or fool with it some more using
MeshMixer software as shown in Step 7.
7. Embellish It (Optional)
MeshMixer (free from
http://meshmixer.com
)
is a powerful tool for editing 3D models and
merging them together. Autodesk recently
acquired it, and it's frequently updated. Be-
fore using it, we recommend that you watch
the video tutorials at
http://youtube.com/