Information Technology Reference
In-Depth Information
Apply stamps as you would other comments:
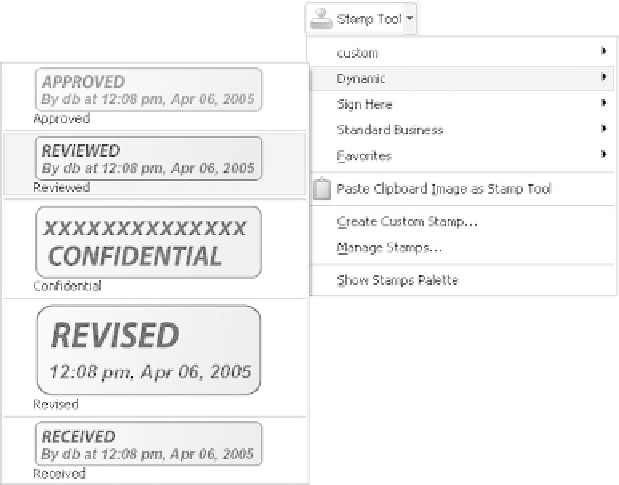
1. Click the Stamp icon on the Commenting toolbar to open its menu, and then choose a stamp from
the submenus (Figure 12.3).
2. Move the cursor over the page, which displays a semi-transparent version of the stamp, and click to
place the stamp.
3. Double-click the stamp on the page to open a note box to contain explanatory text.
Creating a Custom Stamp
You can simply create custom stamps to use in your reviewing and markup tasks. You might want a stamp
showing your company's logo, for example, or a text stamp such as “Approval Pending”.
Figure 12.3
Select a preconfigured stamp
Follow these steps to create a custom stamp:
1. Click the Stamp Tool's drop-down arrow on the Commenting toolbar to open its menu and choose
Create Custom Stamp to open the Select Image for Custom Stamp dialog box.
2. Click Browse to locate and select the file you want to use for the stamp. You see a sample on the
dialog box (Figure 12.4).
3. Click OK to close the dialog box, which is replaced with the Create Custom Stamp dialog box
(Figure 12.5).
4. Click the Category drop-down arrow and choose a category in which to store the stamp. You can
also name a new category from this menu.
5. Type a name in the Name field and click OK to close the dialog box.
6. The new stamp is added to the specified category and ready for use.
Search WWH ::

Custom Search