Hardware Reference
In-Depth Information
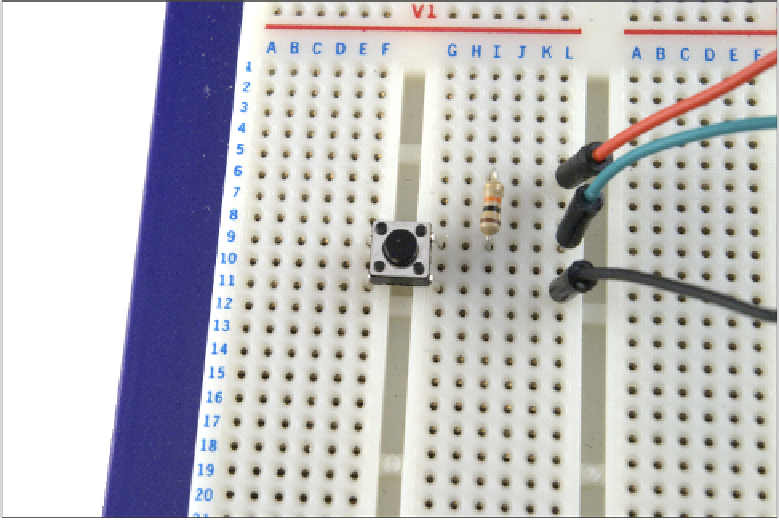
Figure 12-7:
A sample
breadboard
circuit, with
loose-itting
components
his, among other reasons, is why the Raspberry Pi itself is built on a
printed circuit board
(PCB)
rather than a breadboard—although the breadboard method was certainly used in the
early days of prototyping the device. It's possible to print and etch your own PCBs at home,
but there is a simpler intermediate step you can take: using
stripboard
to create permanent
stand-alone circuits.
At irst glance, stripboard looks similar to breadboard, because its surface is covered in small
holes at 2.54 mm spacing. Unlike a breadboard, however, there's no clever mechanism for
ensuring that electronic components placed into these holes stay in place—instead, you'll
have to solder them onto the stripboard. Stripboard is often referred to by the trade name
Veroboard,
which is a trademark of Vero Technologies in the UK and Pixel Print in Canada.
Creating a stripboard circuit has many advantages over using a breadboard. A sheet of strip-
board is signiicantly cheaper than an equivalently-sized breadboard, and it can be snapped
to size for smaller circuits. his also allows a single, large piece of stripboard to be used in the
creation of several smaller, independent circuits.
Because components are soldered onto stripboard, it's also signiicantly more robust than a
breadboard prototype. A stripboard circuit can be carried around from place to place with
little risk that one of its components will become dislodged and lost. Figure 12-8 shows a
piece of stripboard lipped to show the copper tracks on its underside.