Hardware Reference
In-Depth Information
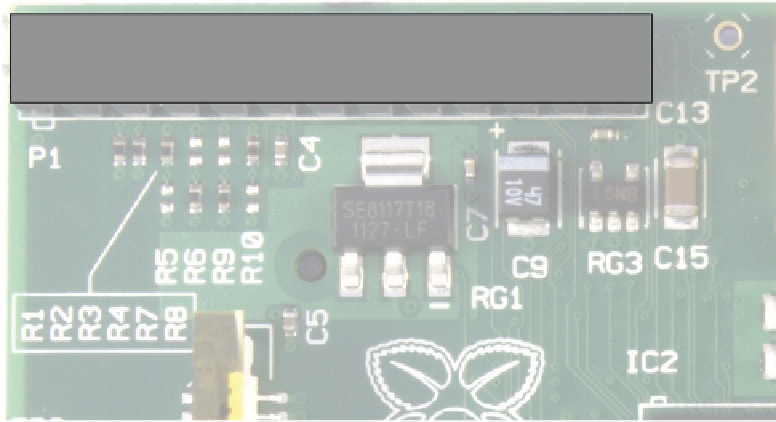
Each pin of the GPIO port has its own purpose, with several pins working together to form
particular circuits. he layout of the GPIO port can be seen in Figure 12-2.
Figure 12-2:
he Raspberry
Pi's GPIO port
and its pin
deinitions
2
4
6
8
10
12
14
16
18
20
22
24
26
1
3
5
7
9
11
13
15
17
19
21
23
25
Pin numbers for the GPIO port are split into two rows, with the bottom row taking the odd
numbers and the top row the even numbers. It's important to keep this in mind when working
with the Pi's GPIO port: most other devices use a diferent system for numbering pins, and
because there are no markings on the Pi itself, it's easy to get confused as to which pin is which.
Never connect anything to the pins marked Do Not Connect; these are reserved for internal
functions of the Pi's BCM2835 system-on-chip (SoC) hardware. Connecting anything to these
will result in damage to the Pi.
WARNING
Although the Pi's GPIO port provides a 5 V power supply, tapped from the incoming power
on the micro-USB hub, on Pin 2, the Pi's internal workings are based on 3.3 V logic. his
means that the components on the Pi work from a 3.3 V power supply. If you're planning on