Hardware Reference
In-Depth Information
Example 1: Hello World
When learning a new programming language, it's traditional to start with a very basic pro-
gram: one that displays a single line of text. his is typically referred to as a Hello World
program, and it's the irst step towards learning how to create your own programs.
Unlike a traditional programming language, Scratch doesn't expect the user to memorise the
names of instructions like
print
or
inkey$
. Instead, almost everything is done by dragging
and dropping blocks of code and arranging them into a logical pattern.
To begin, load Scratch by double-clicking its icon on the desktop or clicking on its entry in
the Programming menu. After a few seconds, the main Scratch interface will appear (see
Figure 10-1). If it's of-centre or small, press the Maximise button—the middle of the three
window control buttons on the right side of the top title bar—to ill the screen.
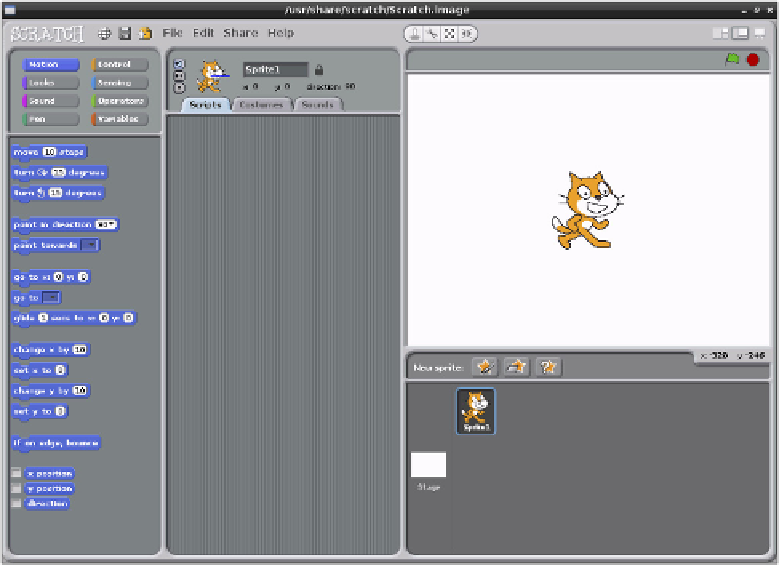
he Scratch interface is split into multiple panes. At the left is the
block palette
, which holds all
the diferent code blocks you can use to create a program. A list of objects in the program,
known as
sprites
, appears at the bottom-right along with a control for the
stage
on which the
sprites appear. he stage itself is at the top-right of the window, which is where you will see the
program running. Finally, the middle of the window is where the program itself is constructed.
Figure 10-1:
he main
Scratch
interface, shown
running on the
Raspberry Pi