Java Reference
In-Depth Information
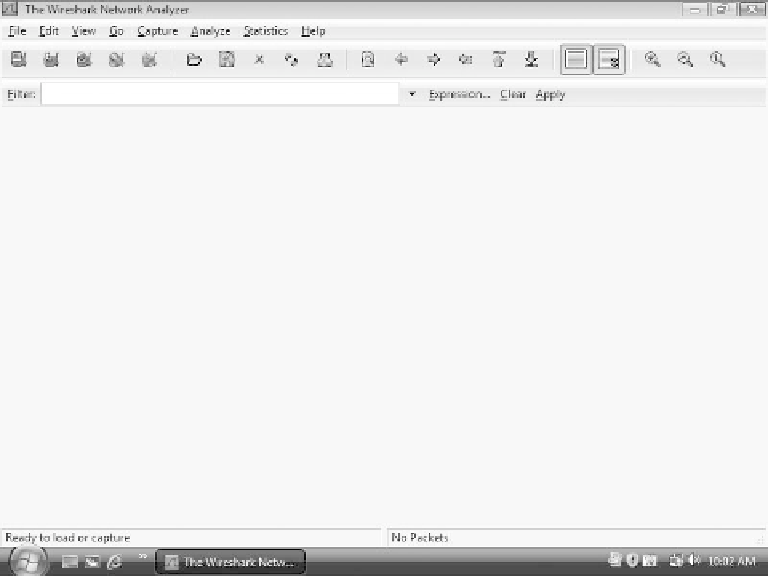
Now that the browser is set up, WireShark can be started. When WireShark is started, it
will appear similar to Figure 2.2
Figure 2.2: WireShark
Now that WireShark has been started, it is time to use it to monitor HTTP traffic. This
will be covered in the next sections.
Select an Interface
Before packets can be captured with WireShark, WireShark must be told what interface
the packets should be captured from. This will most likely be the Ethernet card. However, if
a dial-up modem connection is being used, then it should be specified as the interface. Select
the “Interfaces...” option of the “Capture” menu. WireShark will now appear as the image in
Figure 2.3.