Hardware Reference
In-Depth Information
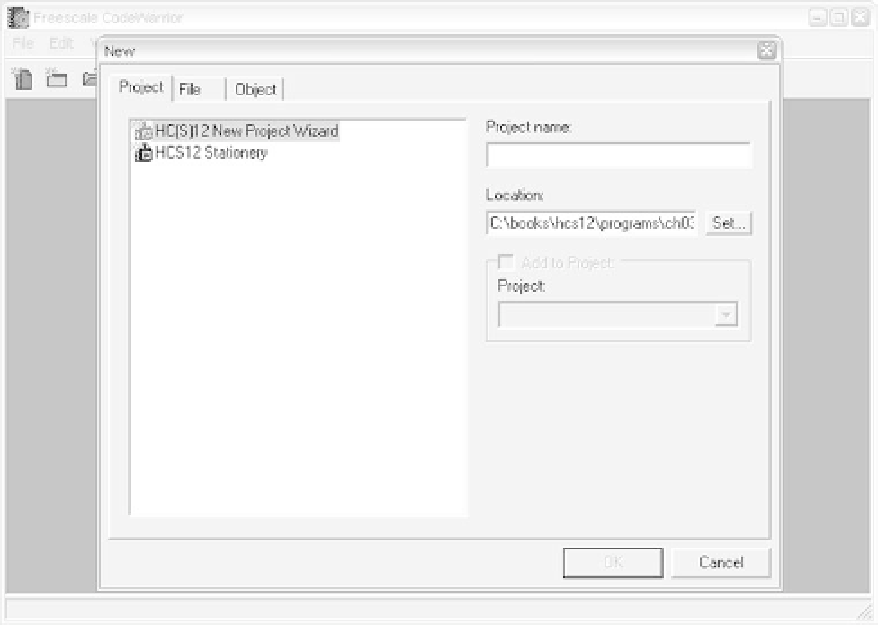
Figure 3.23
■
Screen for creating a new project under CodeWarrior IDE
Step 5
Select absolute or relocatable assembly as shown in Figure 3.26. Absolute assembly fixes
the memory location for the assembly program. It does not need linker to make memory
assignment. Choose absolute assembly for this tutorial and then click on
Next.
Step 6
Choose the connection method to the target hardware. You can choose only one
method or multiple methods. Choosing multiple methods allows you to switch
from one method to another. The screen in Figure 3.27 selects three connection
methods. Click
Finish
to complete the project setup. The resultant screen is shown
in Figure 3.28.
During the project creation process, CodeWarrior also creates the required files for the proj-
ect and puts them under different directory names (Sources, Prm, Libraries, Debugger Project
File, and Debugger Cmd Files). The user can display the file names under these directories by
clicking on the 1 character to their left as shown in Figure 3.29. Figure 3.30 shows the files cre-
ated under these directories.
It would be helpful for the first-time user to browse through the files
readme.txt
and
tips.txt
.
A file can be opened by double-clicking on it using the left mouse button.
Search WWH ::

Custom Search