Graphics Reference
In-Depth Information
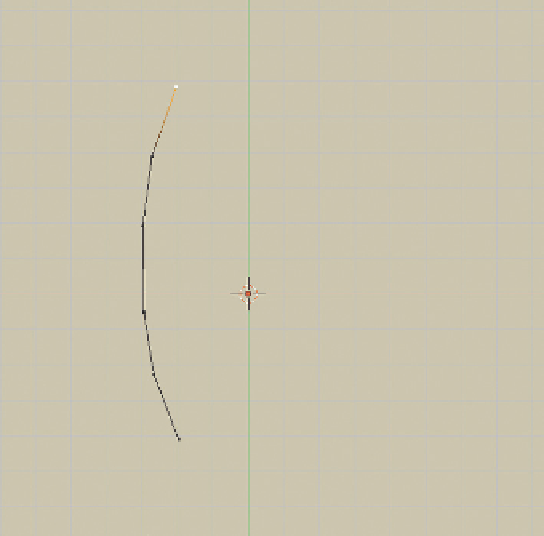
Figure 4.5
The irst arc.
to black. When you are working with more complex meshes, this gradation will help you to identify
adjacent vertices that might not be necessarily obvious.
With this vertex selected, Ctrl-LMB to the right of it, then down a bit, so it looks like
Figure 4.6
. You
now have almost a quadrangle at the top of the form. To make a face out of it, use Shift-RMB to select
all four of the vertices. Press the F key, and the vertices turn into a face. Something you can actually
render!
Using this same technique (RMB select a vertex, Ctrl-LMB below it, select all four, and use the F key)
add two more faces, as in
Figure 4.7
.
You could go on like this all day, creating the entire flower polygon by polygon. There are, however,
more efficient ways of doing these sorts of things. For the most part, you won't be modeling objects in
this fashion, but every now and then the fancy tools won't be up to the task, and you'll need to know
how to get down and dirty.
To try one of these other techniques, RMB select the lowest right vertex. Ctrl-LMB to create a vertex
straight down from it, but parallel to the lowermost vertex, essentially skipping the next one down. Select
these two lowest vertices and press the F key, creating the result in
Figure 4.8
. This time, a face is not
created, which is important to remember. The F key only creates a face when three (a triangle) or four
(a quadrangle) vertices are selected. When two vertices are selected, the F key joins them with an edge.
Search WWH ::

Custom Search