Graphics Reference
In-Depth Information
At this point, your object is in an odd state. It's
actually an object, but it's essentially empty—it has
no vertices, edges, or faces. If you were to press the
Tab key again—Don't do it!—you would leave Edit
mode and it would only be selectable and noticeable
by the little object center indicator.
So, before something weird like that happens, add
a new vertex. Hold down the Ctrl key and LMB
click in the 3D view. It creates a vertex. Continuing
down the screen, Ctrl-LMB several more times until
you've made an arc like the one in
Figure 4.5
. As
you Ctrl-click, you'll find that each new vertex is
linked to the previous one with an edge. For the
start of the flower petal in the sample files, I've used
six vertices. Don't use too many, or things will be
harder to manipulate later on. If this is your first try
at placing vertices, the positioning and spacing may
not be to your liking.
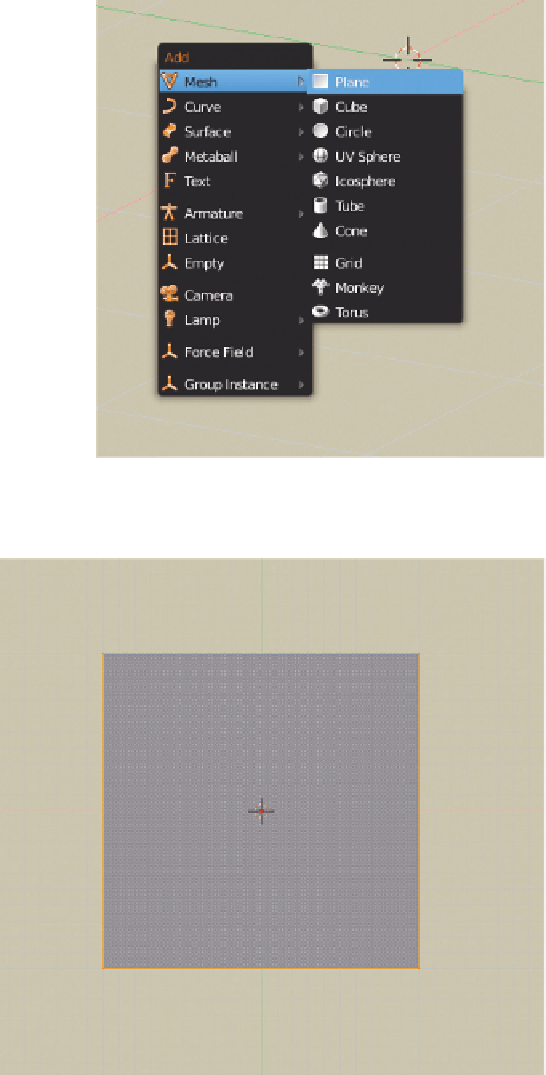
Figure 4.3
Choosing Mesh
>
Plane from the Shift-A add
toolbox.
The nice thing about the vertex/edge/
face structures in Blender is that the same
rules apply to them that apply to the
objects you worked with in Chapter 3. If
a vertex is not in a place that you like,
RMB select it, just like a whole object.
The G key enters Transform mode so that
you can move it. LMB drops it when you
have it positioned to your liking, while
RMB clicking cancels the transform.
Using the Transform tools, try to get your
arc to resemble the one in
Figure 4.5
.
If you're following the illustration
exactly, you'll have an arc that consists
of six vertices and five edges. There are
not, however, any faces. Let's add one.
RMB select the vertex at the top of the
arc. It will be highlighted white to indi-
cate its selection state, and the edge
leading away from it toward the next
lower vertex has a gradation from orange
Figure 4.4
The default plane in Edit mode.
Search WWH ::

Custom Search