Graphics Reference
In-Depth Information
the header how the buttons for both layers 1 and 2 are enabled. To hide the trees, just Shift-LMB click
on the layer 2 button, deselecting it.
In order to set an object's layer, first RMB select it in the 3D view. The
M
key brings up a tool that
allows you to change the object's layer by clicking on a button cluster that is identical to the one on the
3D view header. The feedback is immediate, so you will see objects pop into and out of visibility as you
change the settings. When you have the layers set as you please, move the mouse outside of the tool to
accept the change. Note that the tool works on the entire selection, not just the active object, so you can
move a number of objects to different layers at once.
The layering system is also great when you have enough complex or high-resolution objects that they slow
down the 3D display. Place the high-resolution objects on a separate layer, while adding simple cubes of
roughly the same size and location to a different layer. While you are working on other things, hide the
high-resolution layer and show the low-resolution one. When it's time to render, show the high-resolution
layer and hide the low-resolution one.
Parenting
In real life, objects can be linked to one another. When you set a topic on a desk, pushing the desk across
the room moves the topic too. Tie a string to a weight, hold the string in your hand, and start to spin.
The weight flies in a circle around you.
These kinds of relationships (but not the physics themselves) are defined in Blender by
parenting
.
Parenting lets you deine an object as a parent (the desk), and an object as a child (the topic). You
can move the child object independently, but any transformations you perform to the parent object
are also performed on the child. These automatic transformations use the parent object for their pivot
point.
To create a parent-child relationship between objects, first RMB select the child, then Shift-RMB select
the parent, making it the active object. Create the relationship with
Ctrl-P
. When you do, a dashed line
appears, joining the objects.
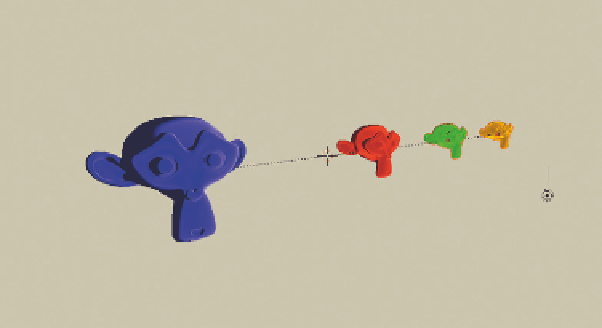
Take a look at
Figure 3.26
,
Suzanne with three of her chil-
dren beside her. The child imme-
diately to her right has been set as
her child with Ctrl-P. The next
little monkey over has been set as
the child of the first little monkey,
using the same process:
●
RMB select Beatrice, then
Shift-RMB select Alexander.
●
Press Ctrl-P to create the
relationship.
Figure 3.26
Suzanne and her kids.
Search WWH ::

Custom Search