Graphics Reference
In-Depth Information
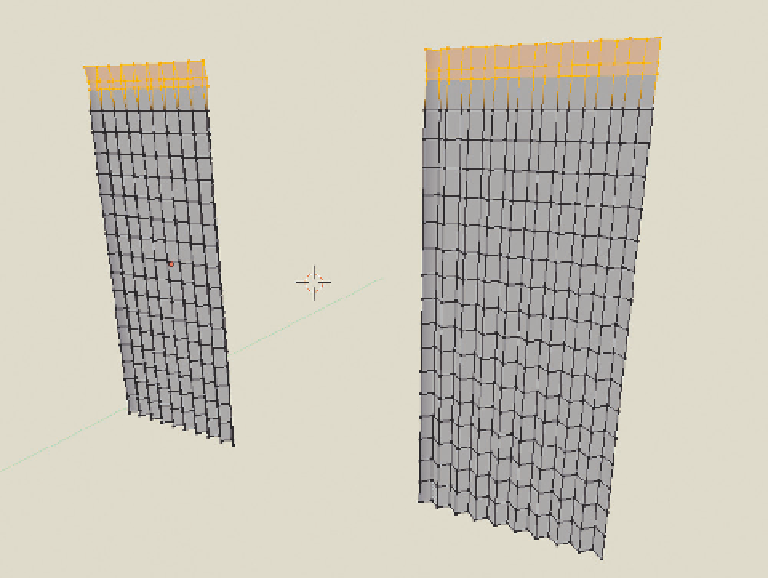
Figure 13.1
A set of shears. The top vertices are selected and added to a vertex group.
your example scene, start by modeling the shears in the same object layer as the rest of the room so you can
see where the window is. When you're finished, move the shears off to a layer by themselves so you can
work undisturbed, or press Numpad-/ to drop it into Local mode. In the example scene, only the window
on the left is open, so we're only going to simulate wind moving the shears on that side.
For a cloth simulation, enable
Cloth
in the Physics properties of the shear object. There are a number of
helpful presets. The closest one to shear material is
Silk
, so choose that.
Figure 13.2
shows the silk defaults.
Although every attempt has been made by the developers to simplify the controls for cloth simulation, it
really is some nasty voodoo to get it right. In this case, we want a material that's even lighter than silk,
so we'll reduce
Mass
significantly, to 0.050. The key to this simulation, though, lies in the pinning. The
vertex group that was created with the shears must be entered into the Pinning section of the Cloth con-
trols by first enabling
Pinning
, then selecting the vertex group by name in the control below.
That's all you have to do to set up a cloth simulation. Press Alt-A in the 3D View to play any animation
in the Scene, and you'll quite possibly see the shears droop and dangle a bit. Nothing dramatic, though.
In order to generate the motion of the shears, we'll add something we haven't used before: a force effec-
tor. While any object in Blender can be used as a force, it's traditional to use an Empty. So, add an Empty

Search WWH ::

Custom Search