Graphics Reference
In-Depth Information
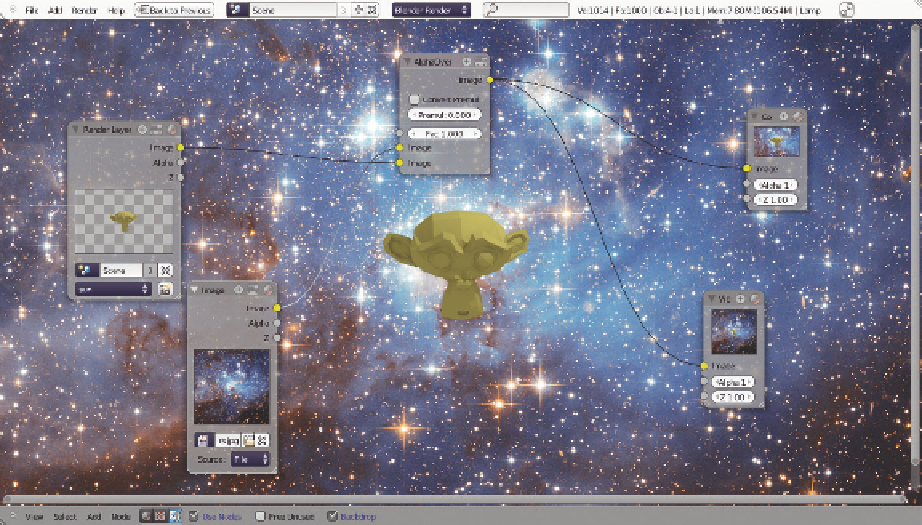
Figure 12.30
Monkeys in space!
things, set the Mix type to Screen, and push the Factor on the node up to 1.0 at least. To connect this
up with the rest of the tree, send the Mix node's output to the secondary input of the next Alpha Over
node.
What we've done is create a miniature node tree with the Blur to RGB Curves section, and joined it into
the rest of the node tree with the Mix node. The result is that the Sun-monkey now glows. If we had
been rendering everything in a single layer, this glow effect would apply to every object in the scene. As
it is, the effect is isolated to the sun. Chopping things into Render Layers isn't always necessary, and
shouldn't be done without a reason. However, when you find that you need to apply different effects to
portions of your scene in the compositor, this sort of compositing is exactly what you need to do.
Continuing, let's try to add vector blur to the composite. Think for a moment about what's going to happen,
though. Vector blur uses the Z and Speed sockets of the Render Layers node to generate its effect. If we
were to perform the blur on the entire finished image, which Z and Speed outputs would we use? Neither
Render Layers node provides the entire picture, and neither one provides Z or Speed values for the other.
The best way to solve the problem is to use two Vector Blur nodes, and blur each portion of the image
separately.
Figure 12.33
shows the now-even-more-complex node tree that accomplishes this. Note that
it isn't anything you haven't done before. It's just that different elements are being combined and spliced
into the existing tree. Also, remember that to accomplish this on your own, you would have to enable
Search WWH ::

Custom Search