Graphics Reference
In-Depth Information
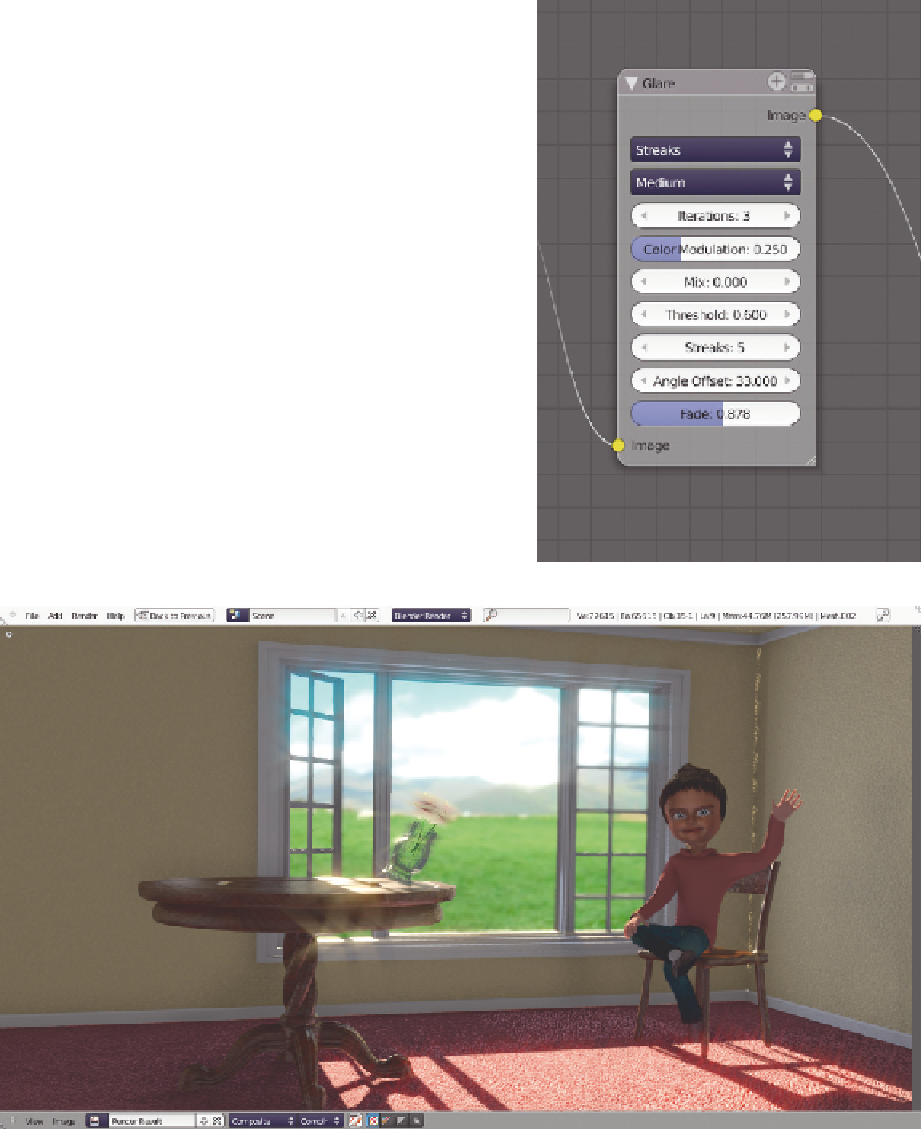
way to adjust the Glare node is to set the
Mix
control to
1.0. The Mix control defaults to 0.0, which is an equal
blend between the original image and the glare effect.
Setting it to 1.0 shows only the glare effect, which makes
it easy to see what you're doing. The
Threshold
control
determines what the node considers “bright.” At 1.0, it only
affects very bright pixels, called “super brights” by composi-
tors. Depending on what is in your image, you may have
to lower Threshold in increments of 0.1 until you see you
anything at all affected. This also allows you to experiment
with the different glare effects: Ghosts, Streaks, Fog Glow,
and Simple Star.
Iterations
affects the quality of the final
effect.
Once you have your bearings with Mix set to 1.0, change
it back to 0.0. Now you can fine-tune your settings and
see what it actually looks like.
Figure 12.20
shows the main
sample scene rendered with the Glare node applied. Once
again, subtlety is called for. A little bit of bloom and glare
will add believability to your image, while overdoing it will
just make things tacky.
Figure 12.19
The Glare node.
Figure 12.20
The sample scene with Glare node applied.
Search WWH ::

Custom Search