Graphics Reference
In-Depth Information
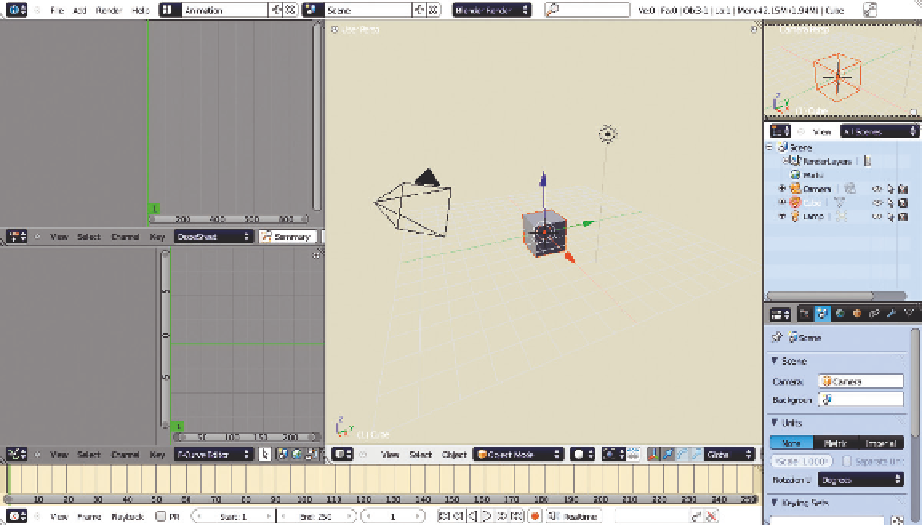
Figure 11.3
The default Animation screen.
of these objects for use on that layer in addition to their existing layer sets. In the case of the example
scene, I've enabled all of the relevant objects for display on layer 20. For good animation feedback, and
to simplify things even further, I've disabled (not removed) all of the Subsurface and Particle modifiers.
Things look a bit rougher, but the animation speed and display response is so much faster, it's worth it.
Having something near real-time playback is important for judging the effectiveness of your animation's
speed and timing. In addition, I've added a simple plane mesh to stand in for the floor. We don't want
to have to deal with seeing through the walls of the room, and the easiest workaround is to create a
temporary object.
Turning to the actual control structure, the armature, there is a bit of preparation left. If you haven't
already done so, set your armature's display type to
Stick
in the armature properties. Also, make sure that
only the bone layer with your control bones is showing. At first, you are going to be keyframing all avail-
able bones, and you don't want to be adding keys to helper bones or any kind of control that you don't
directly manipulate. Your rig is hopefully constructed according to the suggestions in Chapter 9, which
means that you should only be keyframing the controls. Select one of the control bones in Pose mode
(Ctrl-Tab) and enable the rotation transformation widget, setting it to Normal mode as shown in
Figure
11.4
. This aligns the widget with the selected bone, creating a simple, graphical rotation tool. While some
of our animation will involve translating bones, a great deal will be accomplished through bone rotation,
and the widget is superb for this type of interaction.
Search WWH ::

Custom Search