Graphics Reference
In-Depth Information
Leave Edit mode. The changes seem to
disappear. Fear not. Jump back into Edit
mode and you'll find that they are still
there. This is the basic workflow for
Shape Keys: Although visible in Edit
mode when the key is active in the Shape
Keys panel, they are not shown in Object
mode unless you take specific action. So
this solidifies in your head, select the Basis
key and Tab into Edit mode. Nothing.
Just the basic mesh. Staying in Edit mode,
LMB click the second shape key in the
panel. The mesh jumps into the new
configuration. Now, hop back to Object
mode, and let's take a look at the panel
controls from
Figure 10.3
.
There are two ways to get your shape
key to show outside of Edit mode: the
“pin” icon and the Value slider. The pin
icon forces the currently active shape to
be displayed regardless of any other set-
tings. It is useful when you want to do
other work, perhaps on another object,
and just want to quickly make your
model hold that shape. The other way to
show the shape in Object mode is to
adjust the Value slider. Set to 0.0, the
shape is not displayed. Set to 1.0, it is
displayed exactly how you created it. By
moving the slider from 0.0 to 1.0 and
back, you can update the mesh in real
time. As you might guess, you don't
have to use Shape Keys at 100% strength.
You might edit a shape key into a very
intense, exaggerated smile. Used at 1.0
(100%), it looks just like you made it.
However, lesser values could produce
less-intense expressions.
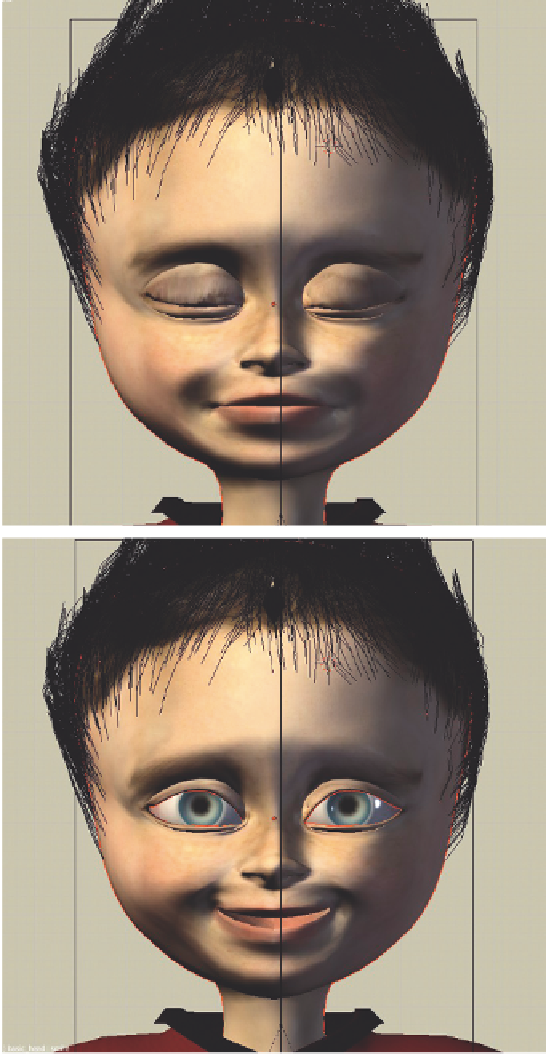
Figure 10.2
Several shape keys and their results.
You can adjust Value sliders of several
keys to combine them into a single
Search WWH ::

Custom Search