Graphics Reference
In-Depth Information
a scale and rotation. In order to remove these without
retransforming your model, use the
Ctrl-A
hotkey to bring
up the
Apply
menu (also found in the
Object
menu on
the 3D header) and first choose
Rotation
then
Scale
.
These commands “clear” those transforms without other-
wise changing your model.
Do not
choose
Location
—this
will move your object's center point.
Figure 9.1
The Properties panel with a scale and
rotation.
Note that you can begin to create your rig before your
model is finished. Nothing that you do during the rigging
process will be broken if you update, refine, or otherwise change your model. In fact, a “stand-in” model
with detached parts is often used during the rigging process so that the rigger can focus on building the
controls without worrying about skinning and deformation.
When you have rotation and scaling removed from your objects, select each of the objects that make up
your character and make sure that their
object center's
are truly in the center of the mesh by pressing
Shift-Ctrl-Alt-C
and choosing
Origin to Geometry
from the menu that pops up. This command moves
the object's center (origin) to
the center of the object data
(the mesh itself ). Remember
that you can always use the
Spacebar search tool or the
header menus to find little-
used commands like this one.
Select the mesh that represents
the main body, and use the
Shift-S Snap
command to
snap the 3D cursor to the
selected object. This positions
the cursor properly for arma-
ture creation.
Creating the Initial
Skeleton
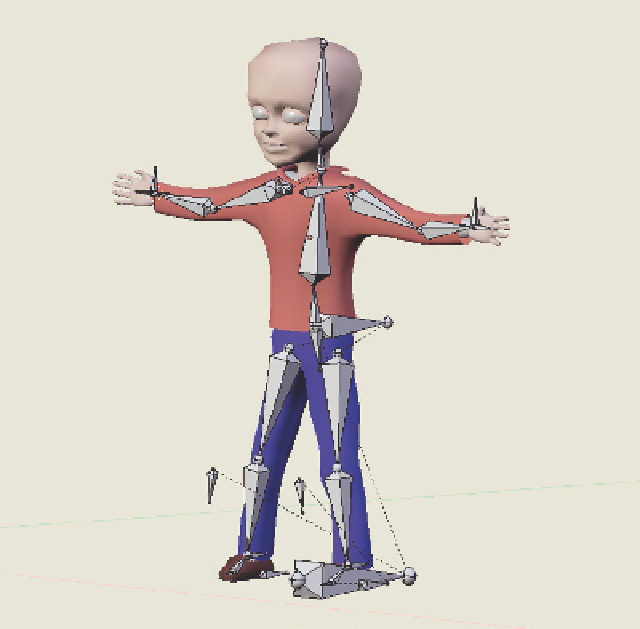
Figure 9.2
shows our sample
character overlaid with a skel-
eton. This skeleton is the
armature
. You can start your
own by using the
Shift-A
menu and choosing
Arma-
ture
then
Single Bone
. The
armature begins its life as a
Figure 9.2
Our character, with his skeleton showing.

Search WWH ::

Custom Search