Graphics Reference
In-Depth Information
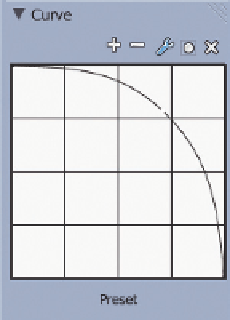
Figure 8.14
The Curve panel
for creating single-click bumps.
Figure 8.15
Evenly spaced bumps, from the Space option.
encountered thing), most of the details get a quick once-over from our brains and, as long as they match
what we're used to seeing, are discarded from our perception. When we shoot for believability, this is
what we are trying to achieve. Enough accurate detail to tell the viewer's brain, “Hey, we're okay. You
can stop paying attention so closely.” Don't overdo it with the sculpted details.
We're not going to add any further nastiness to the kid's face, but you should note that any smaller-scale
features of your models can be created in this way: veins, muscle striations, scarring, even scales.
We do, however, need to add the skin texturing. It will be fine (as opposed to coarse) and probably not
noticeable in anything but a close-up, but while we're here, let's do it.
The best way to give skin a realistic texture is by using an actual texture on the sculpting brush. If you
recall from Chapter 7, you can get a texture through Blender's procedural system or from an image. You
already know which one will give you better results in a shorter amount of time. For this exercise, you
can use the included skin image from the Web Bucket called
skin_alpha.png
, which is shown in
Figure
8.16
. This image will form our skin brush. Notice how the texture itself in the image is black and white,
fading out to pure black at the edges. Only areas in white will “draw” when used with the brush, so we
will in effect be etching this image into the surface of the face.
With this kind of texturing, especially on “regular” people, you want to keep it subtle. For beings with
more pronounced skin texturing like monsters or Edward James Olmos, you can let it show a bit more.

Search WWH ::

Custom Search