Graphics Reference
In-Depth Information
currently used for nonsculpting display modes like Object or
Weight Paint (Preview), during sculpting (Sculpt), and at
render time (Render). To add Multires levels, LMB click the
Subdivide
button. The first few times you do it, the
response will be almost instant. It should appear as though
your applied a Subsurf modifier.
You can watch the vertex and polygon count climb in the
informational header at the top of the screen. How many
polygons do you need? Only testing will tell. If you're fol-
lowing along with the included model, you should probably
stop at level 6. If you add too many levels though, remov-
ing them is simple. Set the
Sculpt
control to the highest
level you want to retain and press the
Delete Higher
button.
Figure 8.8
The Multiresolution modifier panel.
When you've reached level 6
on the example model, set the
Preview
control down to 0.
This takes the pressure off of
nonsculpting modes and pre-
vents you from doing some-
thing silly like entering Edit
mode on a 2.6 million polygon
model. Blender
might
be able to
handle it, but you're going to
wait a while to even find out.
Anyway, once you're at Mul-
tires level 5 for sculpting
(preview at 0!), enter Sculpt
mode on the 3D view header
and bring up the tool shelf.
Select the
Draw
tool and use
the F key to size the brush
down to something like
Figure
8.9
. Zoom in around one of
the eyes, like in the figure.
Check to be sure that
X Sym-
metry
is enabled on the tool shelf.
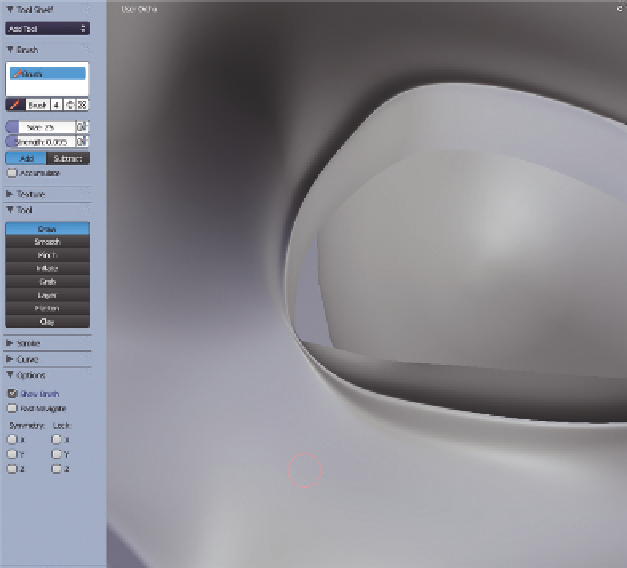
Figure 8.9
Ready to add some eye lines.
Recall that the sculpt tools are inverted with the Shift key. We're going to draw some age lines under the
eyes, and the best way to begin that is by carving a line. Holding down Shift, LMB drag under the eye.

Search WWH ::

Custom Search