Graphics Reference
In-Depth Information
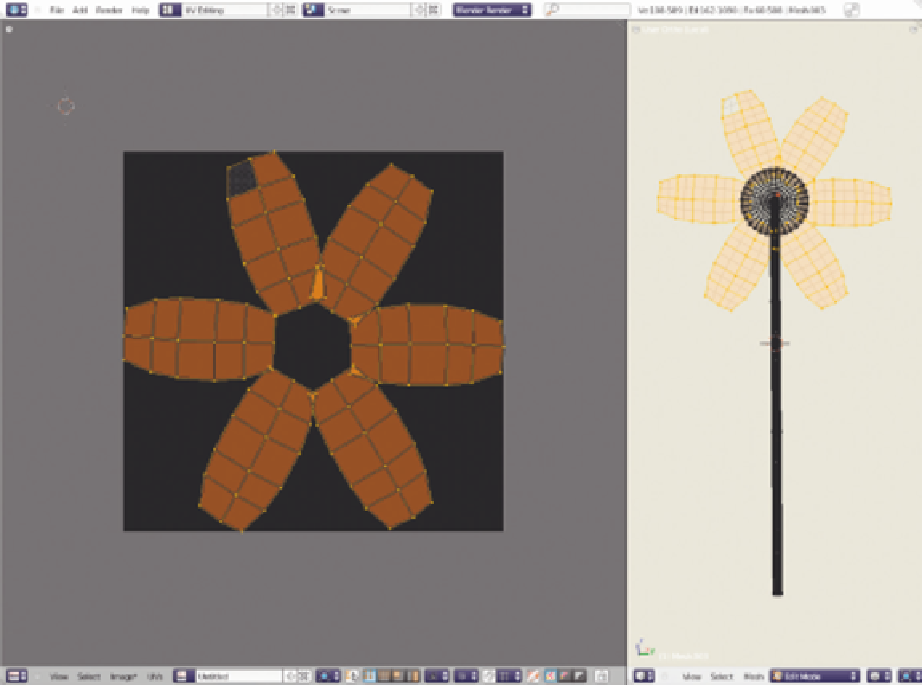
Figure 7.49
The lower, unwrapped.
Blender's painting tools are largely similar to the paint tools in just about every other paint program
out there. You pick a color to paint with; set your brush's size, strength, and mix mode; and paint
away. Airbrushing (continuous paint flow as long as you hold down the mouse button) is toggled in the
Paint Stroke section. Only a couple of settings differ from paint application norms, and so are worth a
mention.
Jitter
provides some random placement to your brush strokes. This is useful when creating organic textures,
as a brush set to Jitter with a low strength in Multiply blending mode creates a decent dirt layer.
Reducing Jitter to 0.0 removes the effect completely, painting only and exactly where you specify.
Jitter at 1.0 allows the actual paint drop to appear anywhere within the brush area.
Paint Curve.
Instead of having a single selector for brush softness (Does it paint with a hard edge or
soft?), Blender has a user-definable curve. The Presets button below the graph is there for the basic
brush styles:
Soft
for a brush with a nice feathered edge, and
Hard
for general painting and drawing.
Search WWH ::

Custom Search